DIY Decorative Mini Party Piñatas


All those colors, all that fringe… Is it even a party without a piñata?

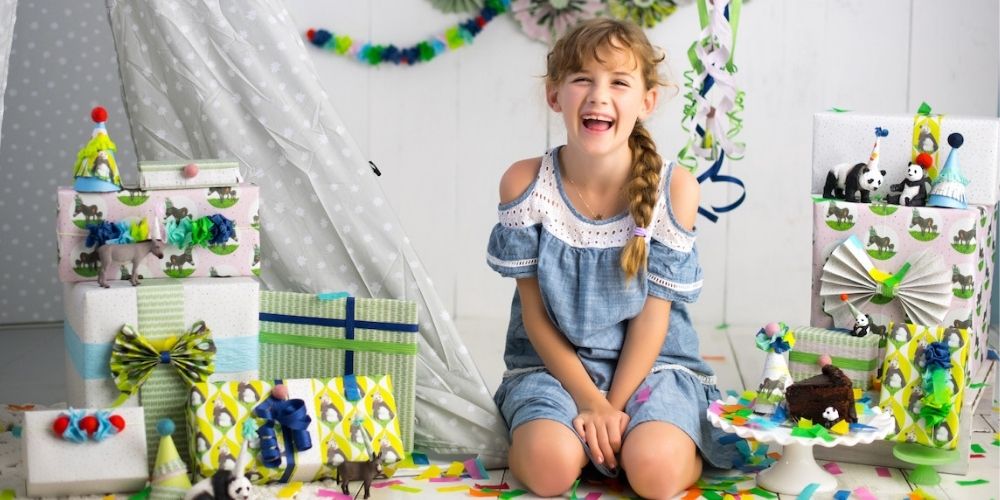
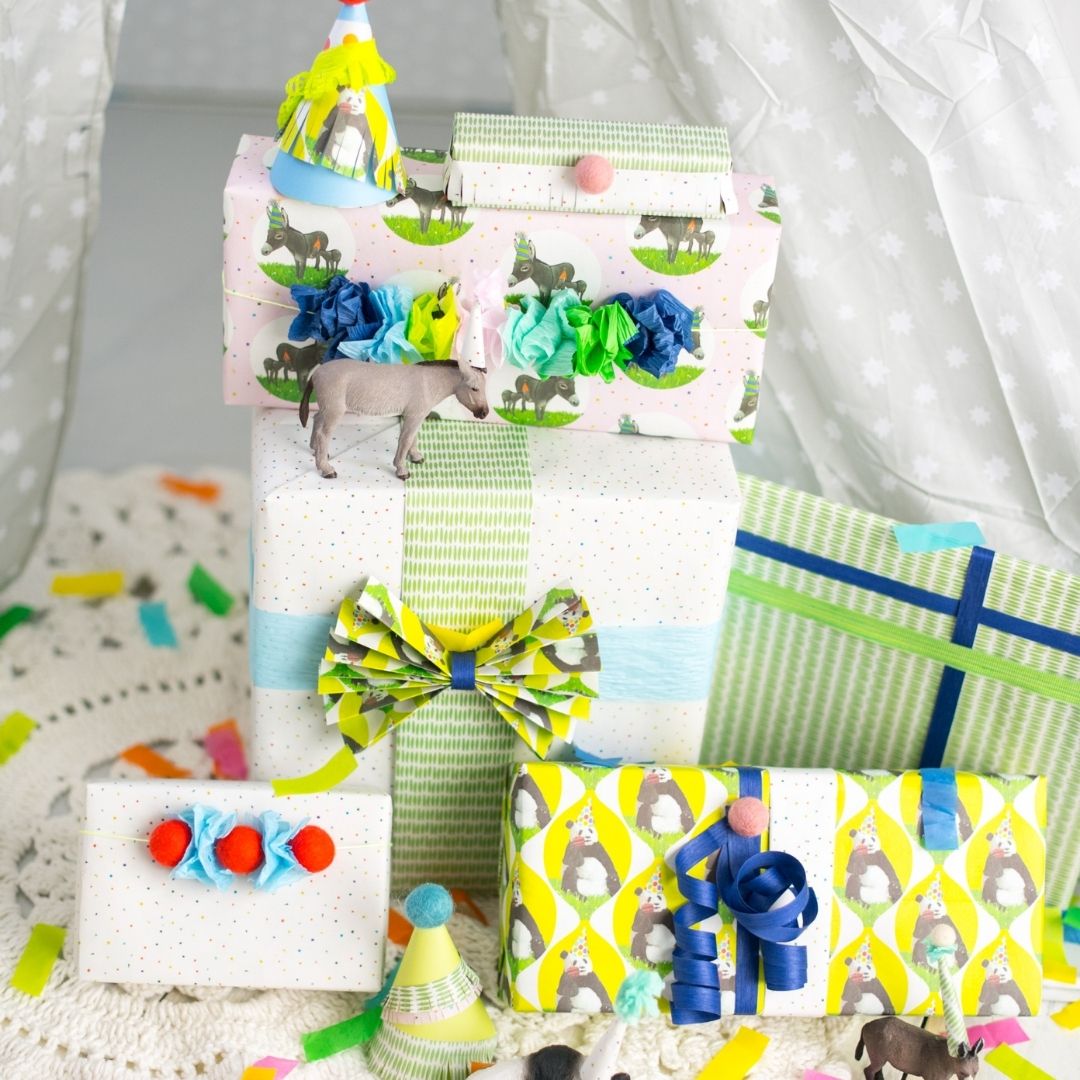
Party perfect scene: handmade piñatas and gift wrap styling by Tara Gray for Maven Studios Maui, and photographed by Kristy Copperfield.

Even though buying something off the shelf is easy enough, finding a piñata that coordinates perfectly with your party theme or color scheme may prove more of a challenge. If you have a vision for a pink viking hat or a pastel peach popsicle or blue pineapple, it may be time for plan B.
Are you a wee bit crafty and have some scissors and tape? Then roll up your sleeves, we’re about to learn how to make handmade piñatas!

For help we turned to the craftiest gal we know, Tara Gray of Maven Studios Maui, who is sharing her quick and easy method for handmade piñatas with us here. Tara whipped up two samples using double-sided Wrappily paper and our colorful, crêpe-y paper ribbon. She chose a rainbow and a heart, but using the steps in her tutorial below, you can make almost any shape you choose.
Aside from shape and color, another big bonus of DIY-ing your own piñata is getting to customize its size. Are you looking for a massive party centerpiece or a few minis for table decor? Will it be a photo booth prop for a high school graduation blow-out or decor for a toddler’s birthday? Go big or go small, it’s up to you. The only limit here is your creativity and patience for assembly.
Let’s see how it’s done…

Step 1: Assemble the supplies needed for this project.
-
card stock, chip board, or cardboard (scavenge the recycling bin, an old cereal box or delivery box will do the trick!)
-
ruler or straight edge
-
masking tape (avoid scotch tape)
-
Wrappily paper and paper ribbon
-
white school glue or glue stick
-
scissors or exacto knife
-
optional: fringe scissors
Step 2: Make your shapes.
Trace or print your design identically onto two pieces of card stock or chip board, one for the back and one for the front. (Note: if your piñata needs to be quite sturdy, use or reinforce with cardboard.)

Next work on the sides. Using the same material, cut your side strip at an even width depending on the desired depth of your piñata. Feel free to break it down into multiple pieces, it may be more manageable and easier to assemble. For instance, for the rainbow piñata we cut two face pieces (for the front and back), a 2” wide rectangle for the bottom, and longer 2” side strip to curve along the top arch.
Step 3: Assemble the inner frame.
After all the shapes are cut, begin to tape them together using masking tape. Avoid Scotch tape as it does not work well with white glue.


Remember this inner frame does not have to be perfect or look beautiful, it’s going to get completely covered with poofs of colorful fringe. If the sides are too long, simply trim them. If they are too short, patch the gap with an extra piece of tape or card board.
Step 4: Fringe it up!
Use your scissors to cut 1” inch wide strips of your favorite Wrappily papers. Cut narrow, straight slits along the bottom of the strip leaving about 1/4” uncut at the top. If you are using our paper ribbon, create bubble-look fringe by folding the ribbon in half lengthwise and cut your slits through the folded edge (still leaving about 1/4” uncut at the top).

PRO TIP: use fringe scissors for this step if you have them. (If not, they may be a worthy investment depending on the size of your project.)


Apply a strip of glue at the bottom of the piñata and begin to add the fringed tissue paper in linear rows making sure each row slightly overlaps the previous one. Start at the bottom and work up towards the top. You will need to trim your fringe pieces to achieve your desired design.
Once complete, fluff up the fringe for more volume and texture. Voila!

Step 5: Behold your beautiful creation!
Check out that eye candy—a totally custom, made-with-love work of art guaranteed to bring a smile to people's faces. Nice work!
 Now that you know the steps, think of the possibilities...
We love the look Tara gave her heart piñata by mixing in the solid colored crepe paper ribbon with the fringy bits of Wrappily's double-sided paper for added texture and design.
And because she's like that, she made her's extra next level by imbedding a message window (this one cut right from our Birthday Balloons wrapping paper). It could even be a photo of the birthday gal or guy, a favorite character, or sports logo—whatever you'd like!
 (Psst... here's the replay on how she did that. Backing up to step 3, simply glue your window in place and run your fringe around it. Brilliant!)
Happy crafting!
- - -
Love this tutorial? Be sure to follow Tara and her Maven Studios Maui on Instagram for more crafty inspirations.
Featured Products


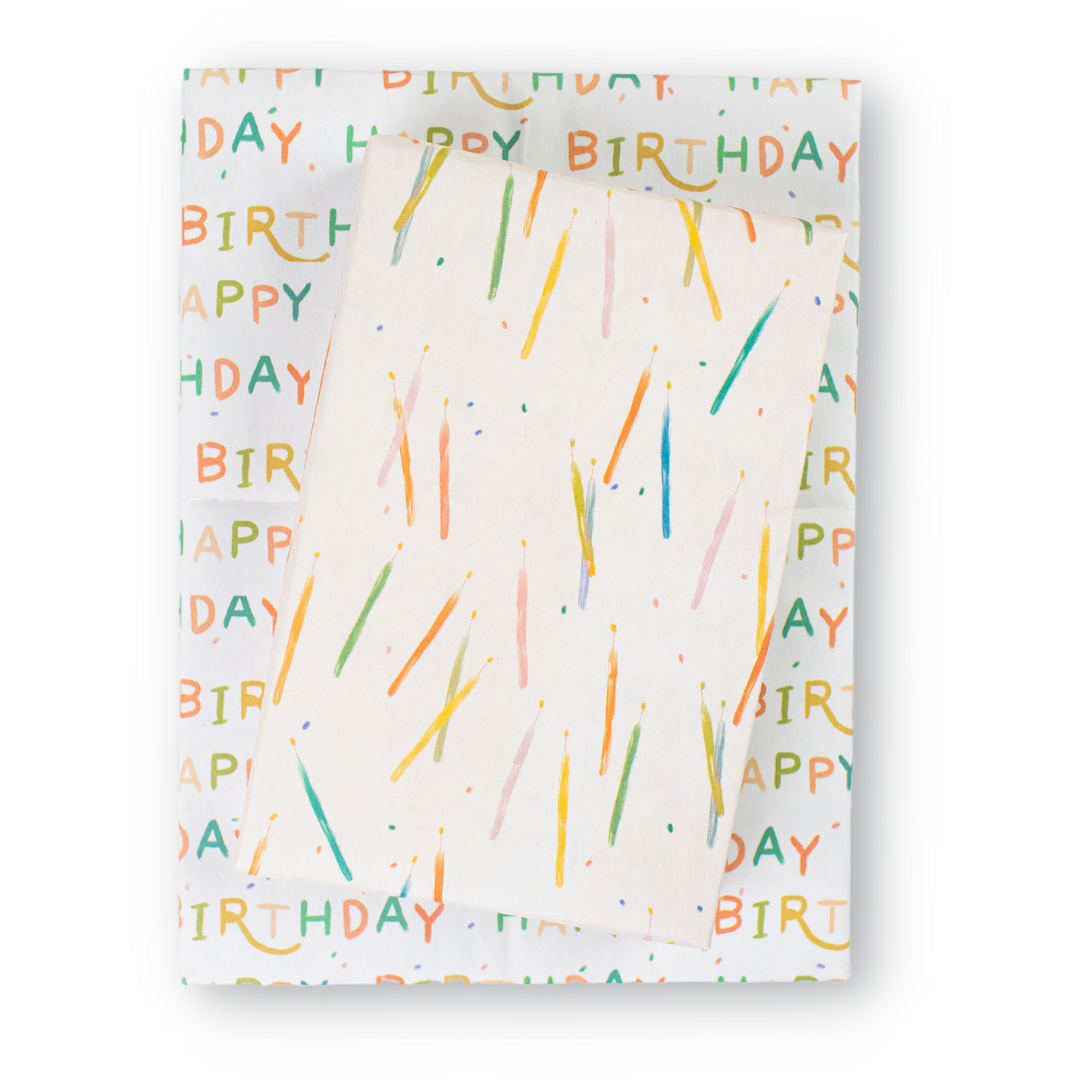
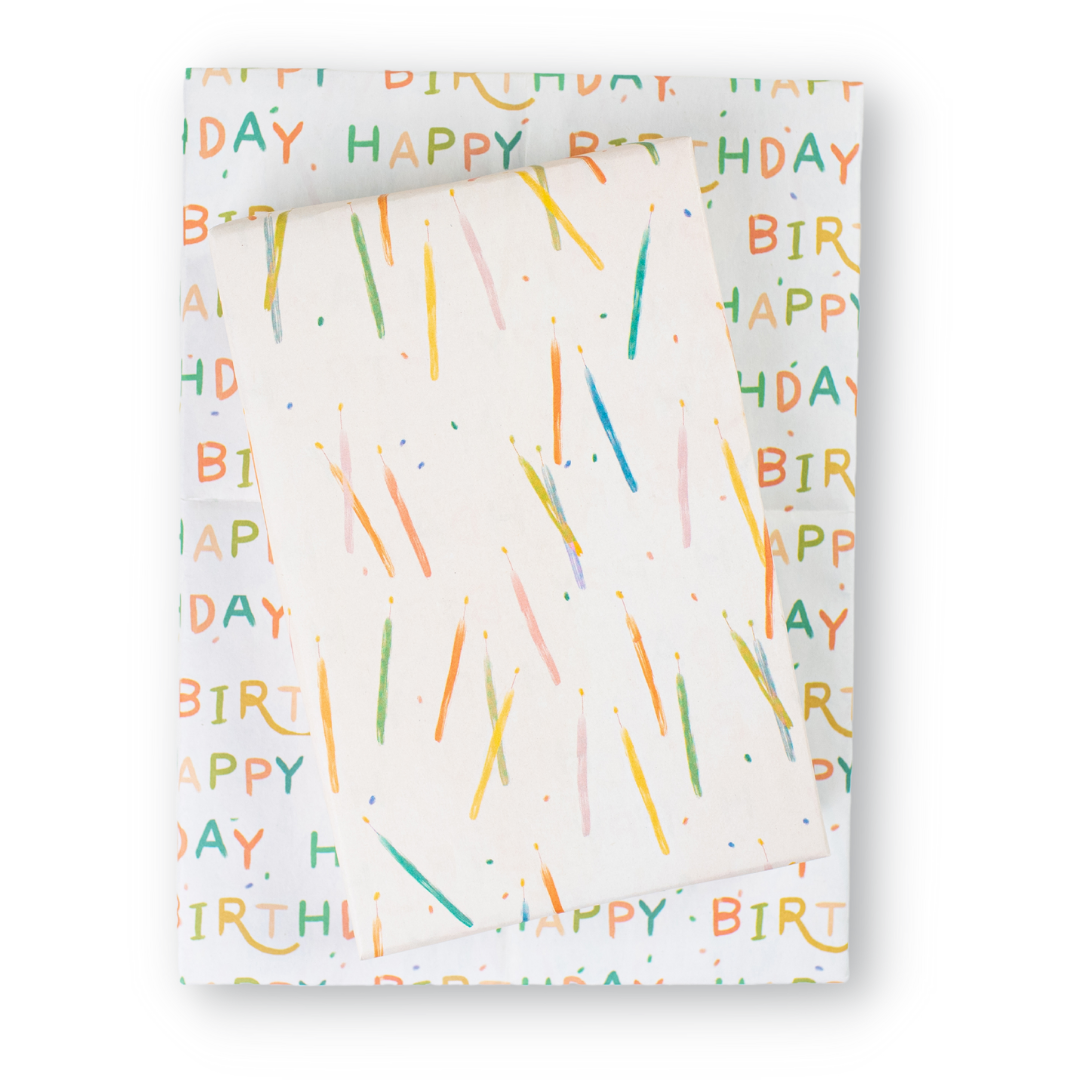


Candles/Happy Birthday - Double-sided Eco Wrapping Paper for Everyday Gifting
$10.80
Get ready to blow out the candles and sing "Happy Birthday"
Celebrate sustainably with our recycled and recyclable double-sided eco wrapping paper featuring the cheerful art of watercolorist and published author, Meera Lee Patel. Reversible patterns make gift wrapping fun! Paper works great for crafting, too.
Package includes three sheets + adhesive gift tags
• Sheet size 21.5" x 34"
• Premium newsprint + soy-based inks
• Plastic-free PLA packaging
• Flat, folded sheet for easy storage
• No unnecessary cardboard tube
• 100% recyclable and compostable
• Milled, printed and packaged in Washington State
JOIN the mission to green-up gifting!
#wrapriprecycle #wraphappy #gifthappily


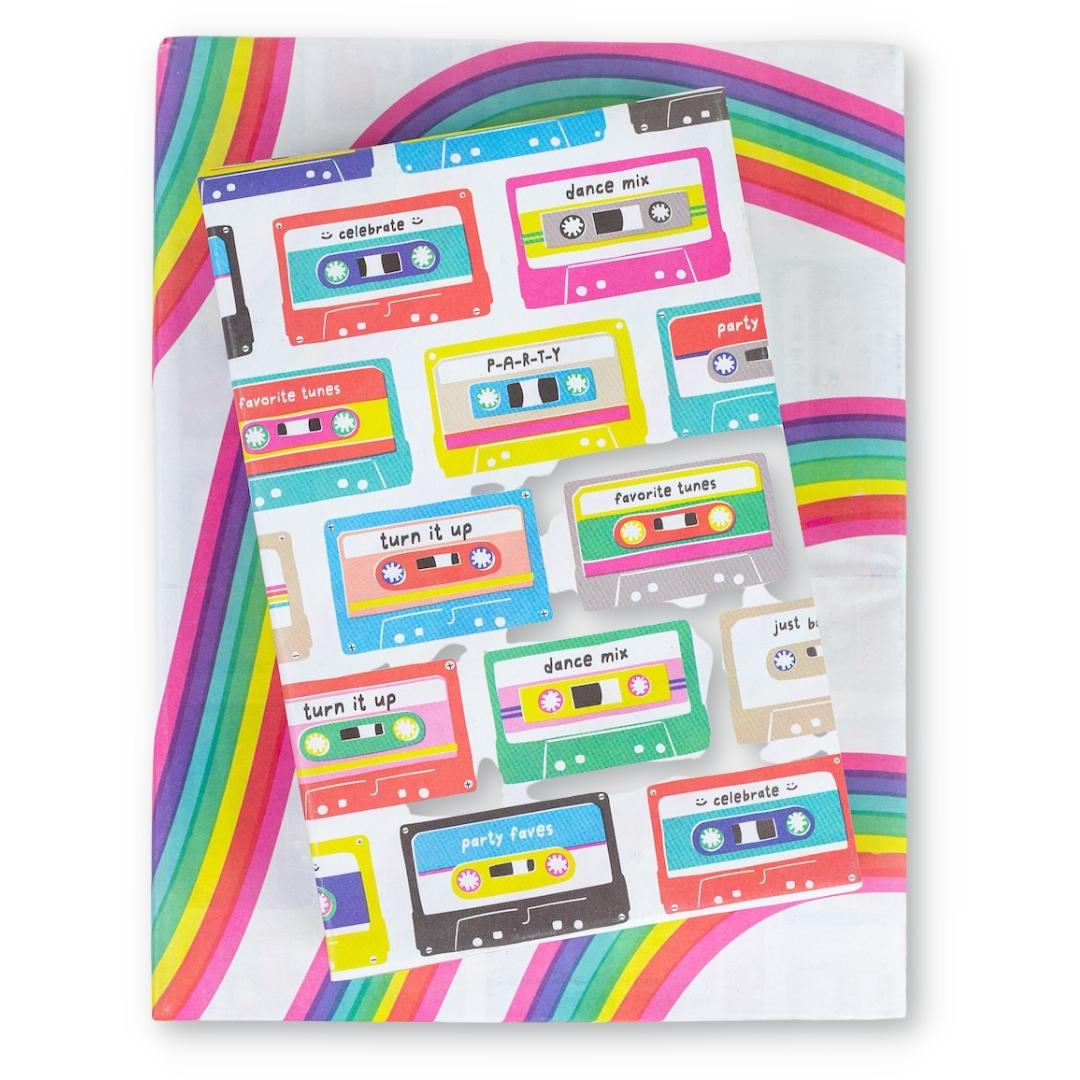
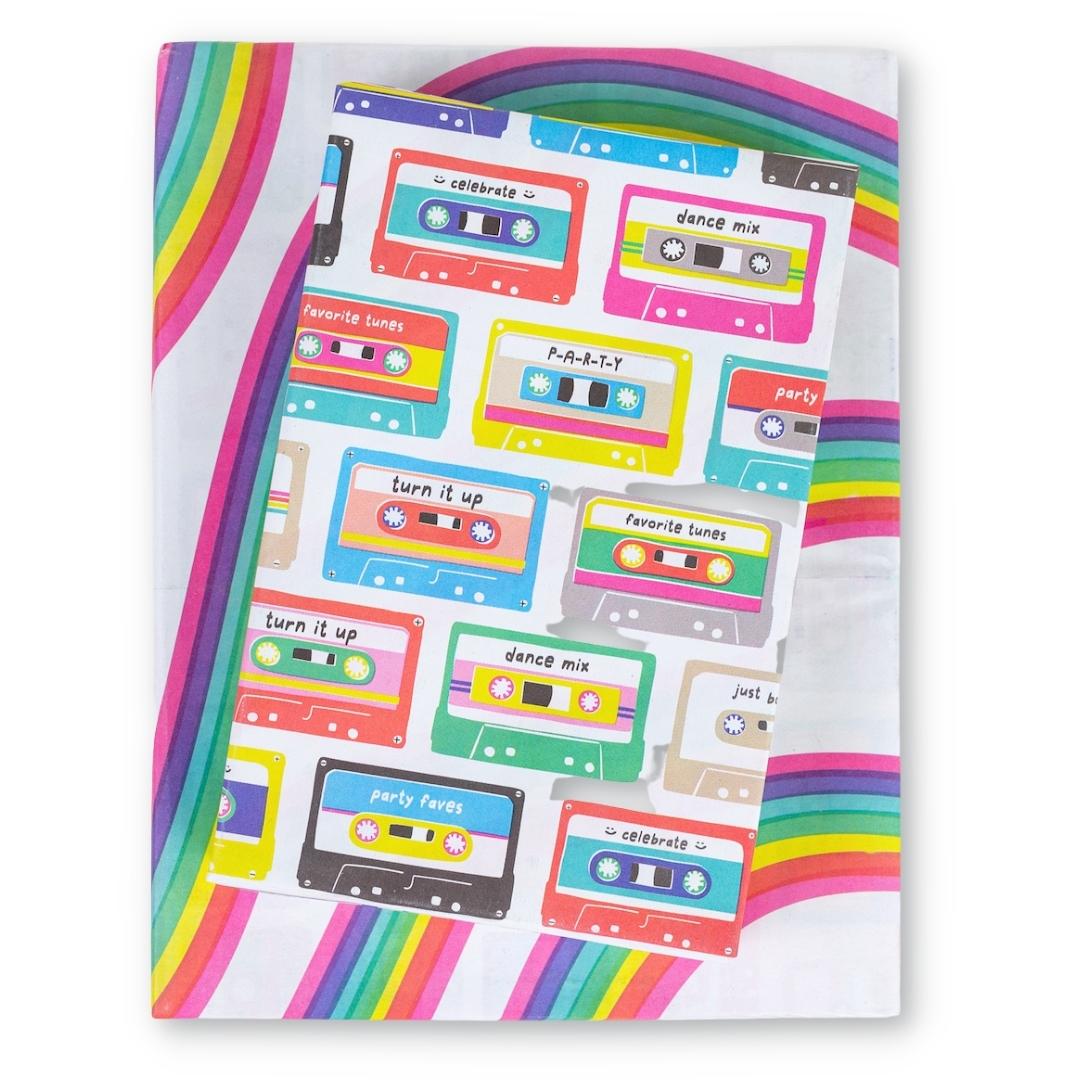


Mix Tape/Go Bows Party Wrapping Paper
$10.80
Celebrate sustainably with our recycled and recyclable double-sided eco wrapping paper featuring the cheerful art of professional illustrator and graphic designer, Nadia Hassan. Reversible patterns make gift wrapping fun! Paper works great for crafting, too.
Package includes three sheets + adhesive gift tags
• Sheet size 21.5" x 34"
• Premium newsprint + soy-based inks
• Plastic-free PLA packaging, certified compostable + biodegradable
• Flat, folded sheet for easy storage
• No unnecessary cardboard tube
• 100% recyclable and compostable
• Milled, printed and packaged in Washington State
JOIN the mission to green-up gifting!
#wrapriprecycle #wraphappy #gifthappily


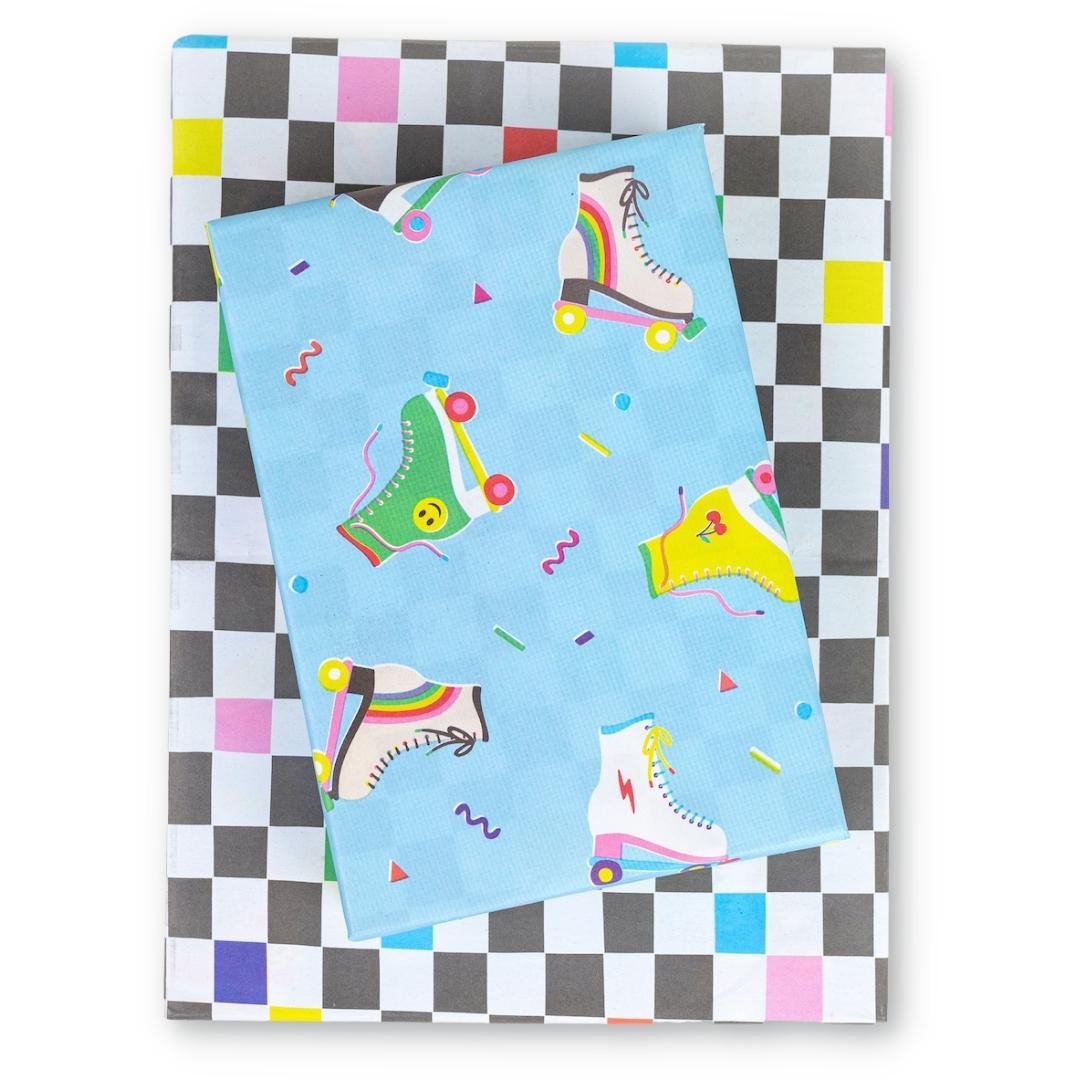
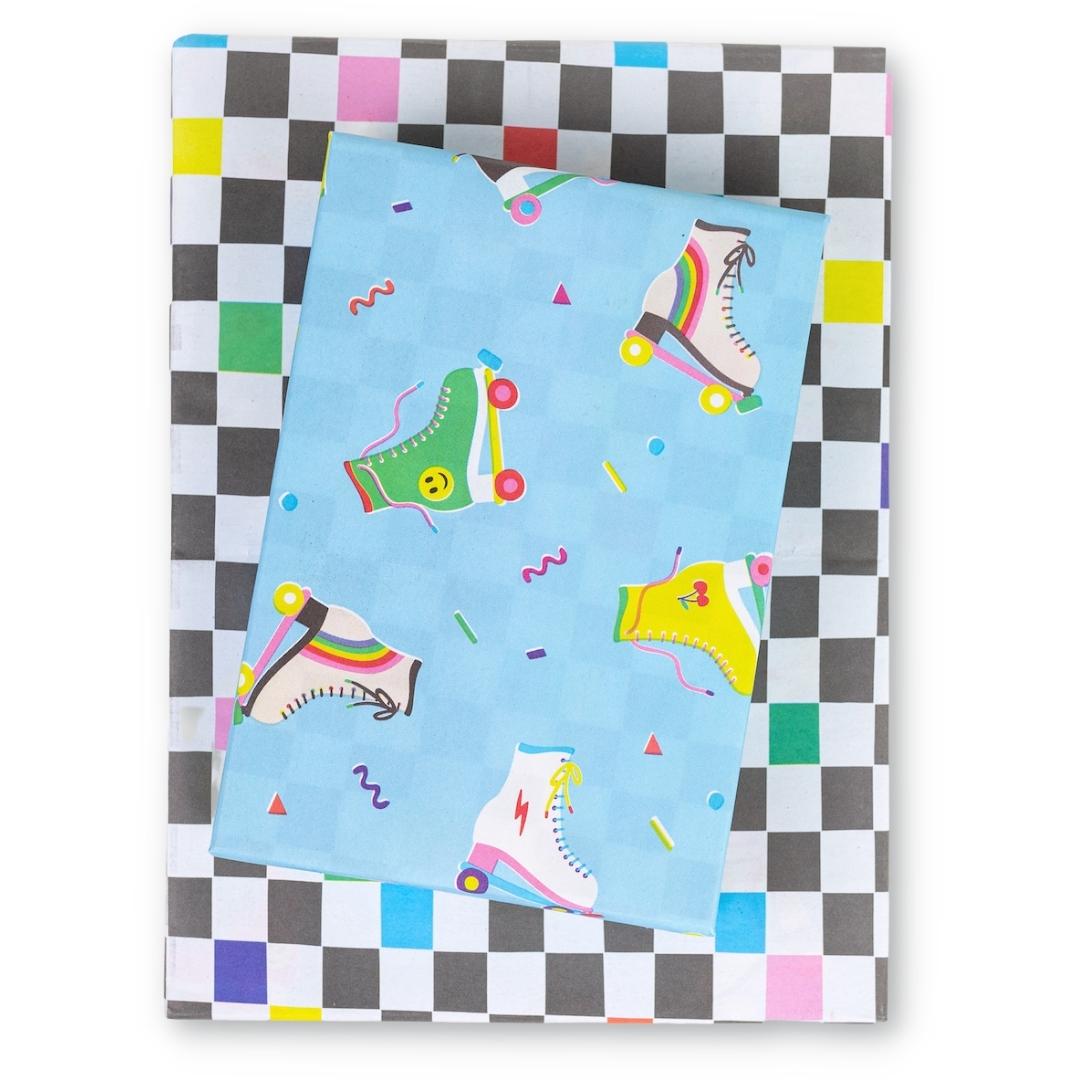


Roller Skates/80s Check
$10.80
Celebrate sustainably with our recycled and recyclable double-sided eco wrapping paper featuring the cheerful art of professional illustrator and graphic designer, Nadia Hassan. Reversible patterns make gift wrapping fun! Paper works great for crafting, too.
Package includes three sheets + adhesive gift tags
• Sheet size 21.5" x 34"
• Premium newsprint + soy-based inks
• Plastic-free PLA packaging, certified compostable + biodegradable
• Flat, folded sheet for easy storage
• No unnecessary cardboard tube
• 100% recyclable and compostable
• Milled, printed and packaged in Washington State
JOIN the mission to green-up gifting!
#wrapriprecycle #wraphappy #gifthappily


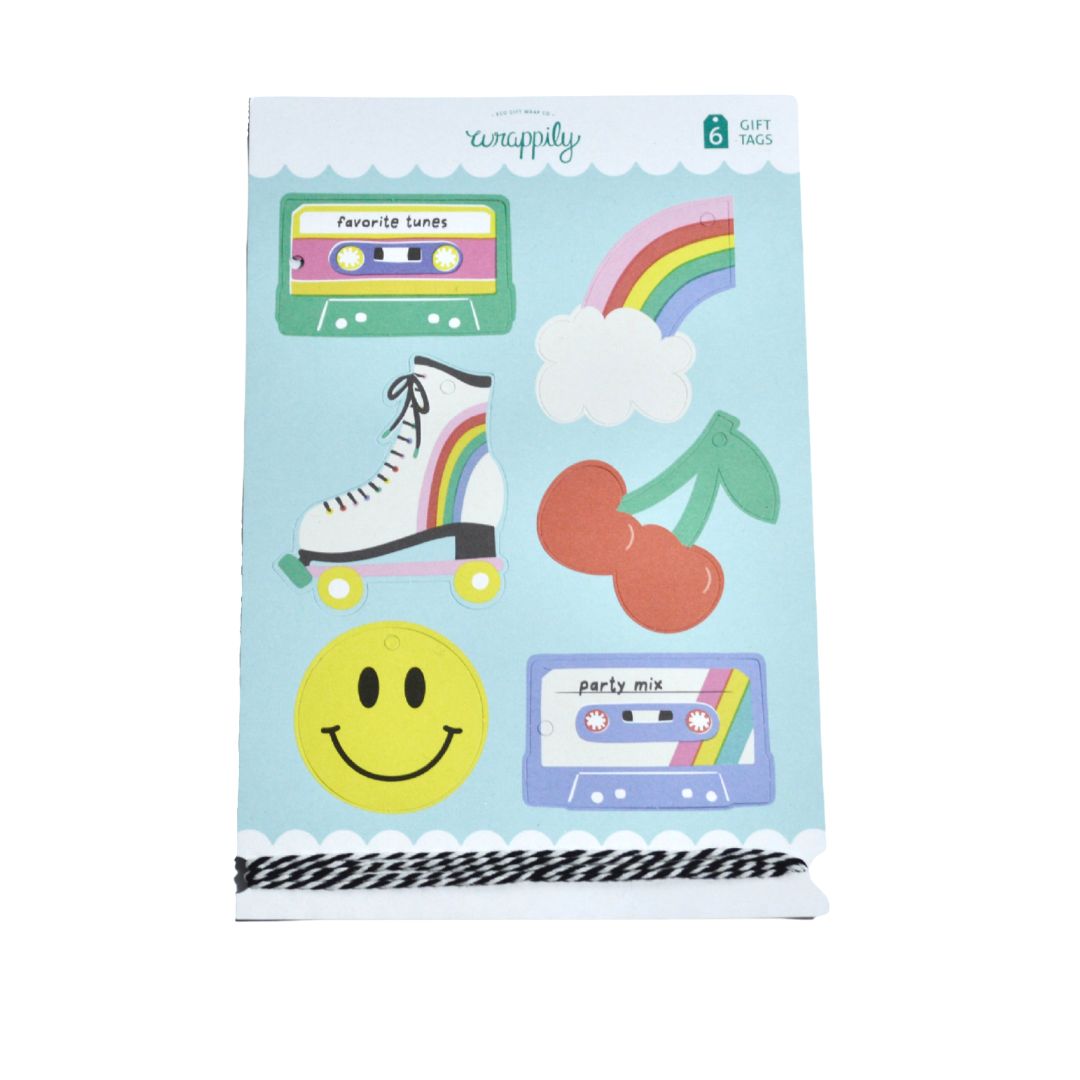
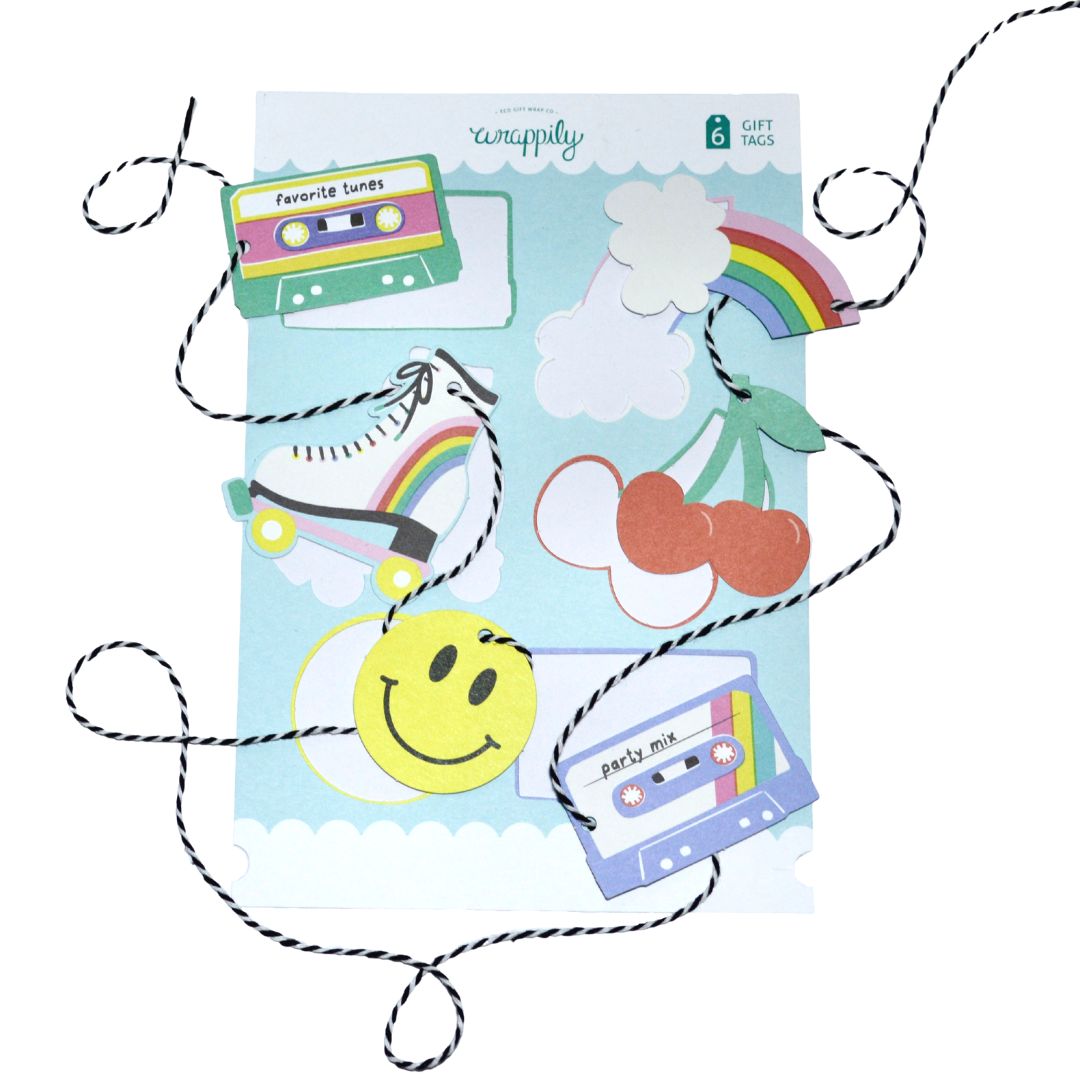


Party Time Pop-Out Gift Tags & Twine
$8.00
These party-ready tags will literally be the cherry on top of your next gift. Fun, retro die cut shapes that are perfect for kids, teens, and those of us old enough to have grown up making our own mix tapes.
Set includes six pop-out tags with matching twine.
Printed with the highest standard of sustainability, these gift tags are cute and credentialed. Carbon-offset printed on thick 100% recycled, FSC-certified paper.


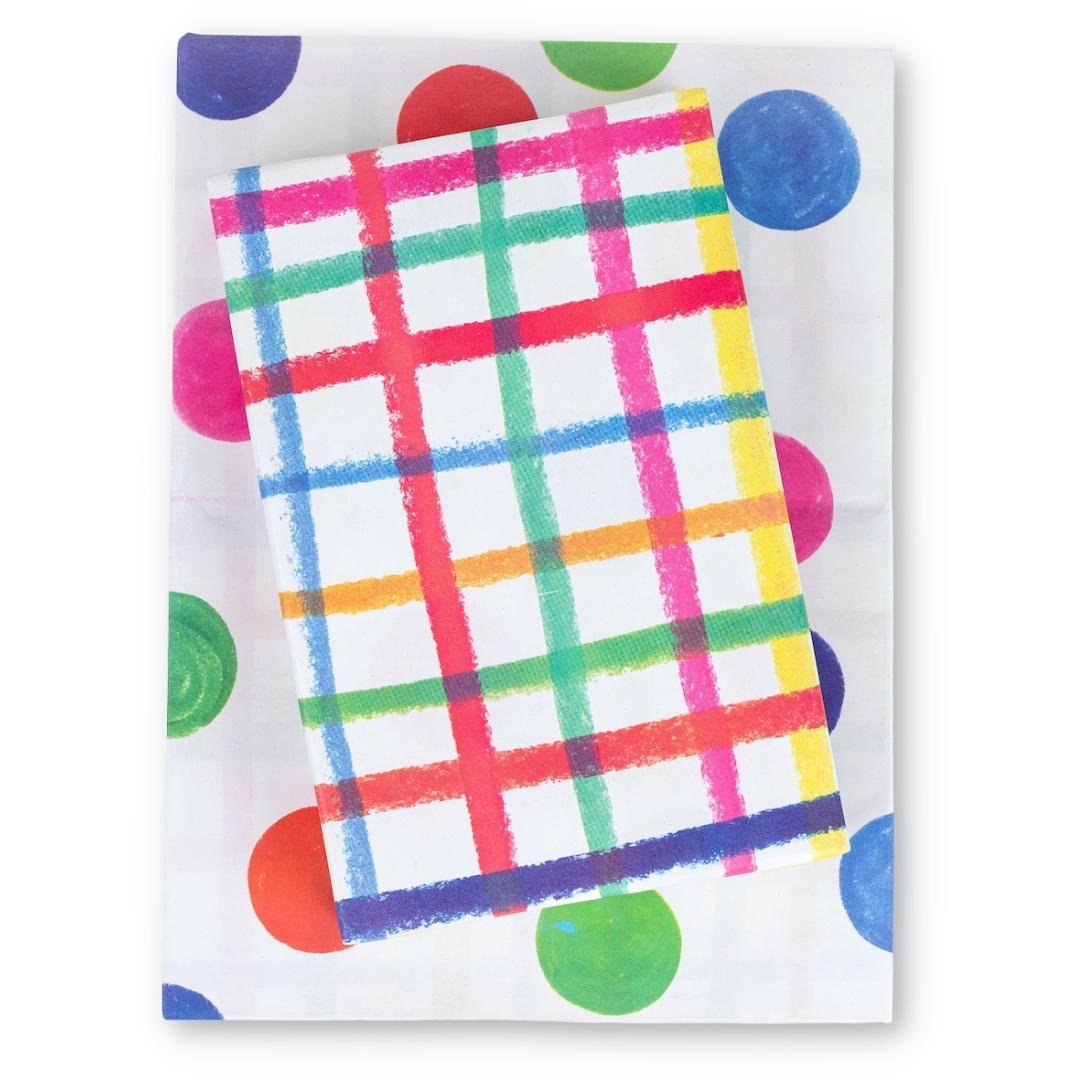
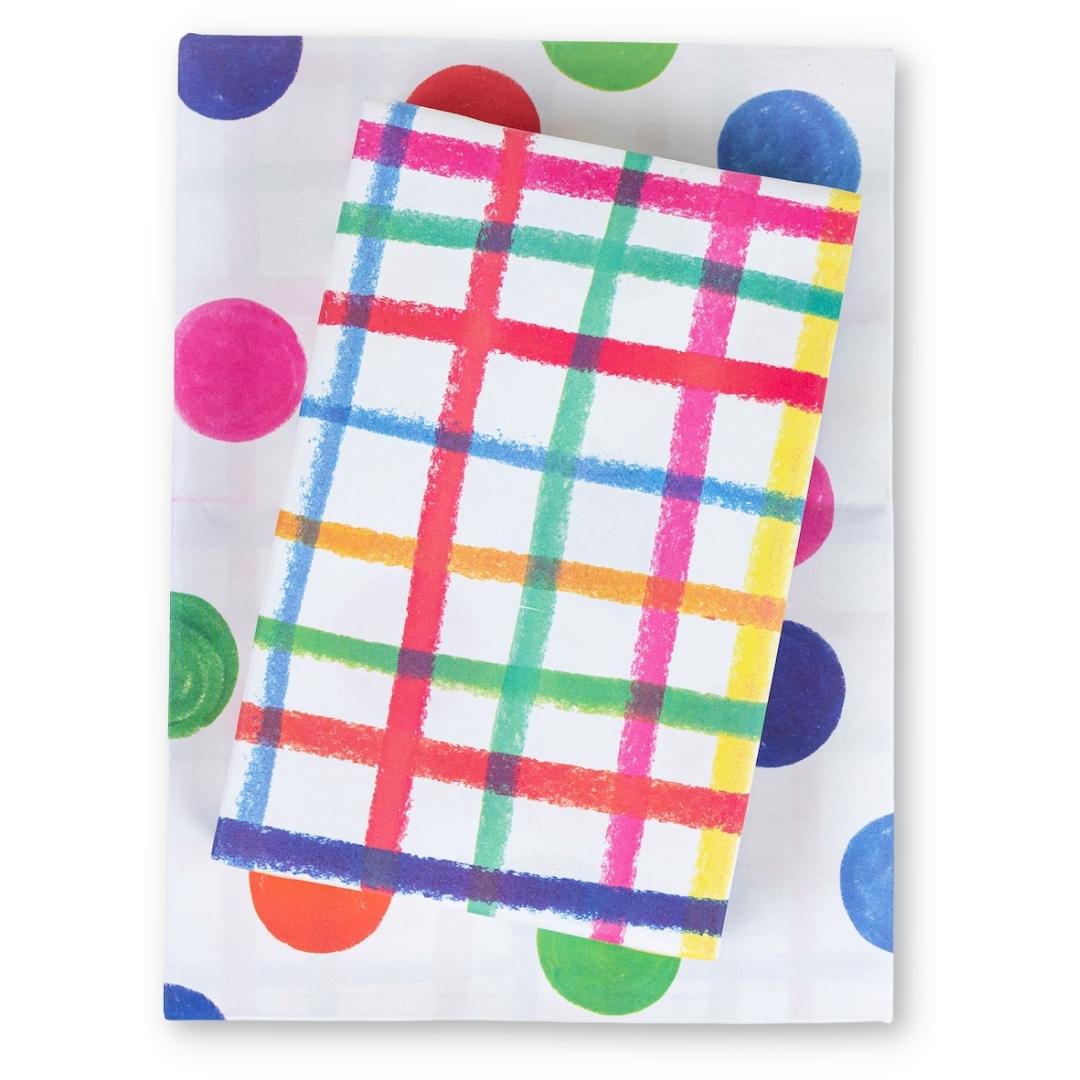


Jumbo Plaid/ Jumbo Dot Party Wrapping Paper
$10.80
Celebrate sustainably with our recycled and recyclable double-sided eco wrapping paper featuring the cheerful art of professional illustrator and graphic designer, Nadia Hassan. Reversible patterns make gift wrapping fun! Paper works great for crafting, too.
Package includes three sheets + adhesive gift tags
• Sheet size 21.5" x 34"
• Premium newsprint + soy-based inks
• Plastic-free PLA packaging, certified compostable + biodegradable
• Flat, folded sheet for easy storage
• No unnecessary cardboard tube
• 100% recyclable and compostable
• Milled, printed and packaged in Washington State
JOIN the mission to green-up gifting!
#wrapriprecycle #wraphappy #gifthappily


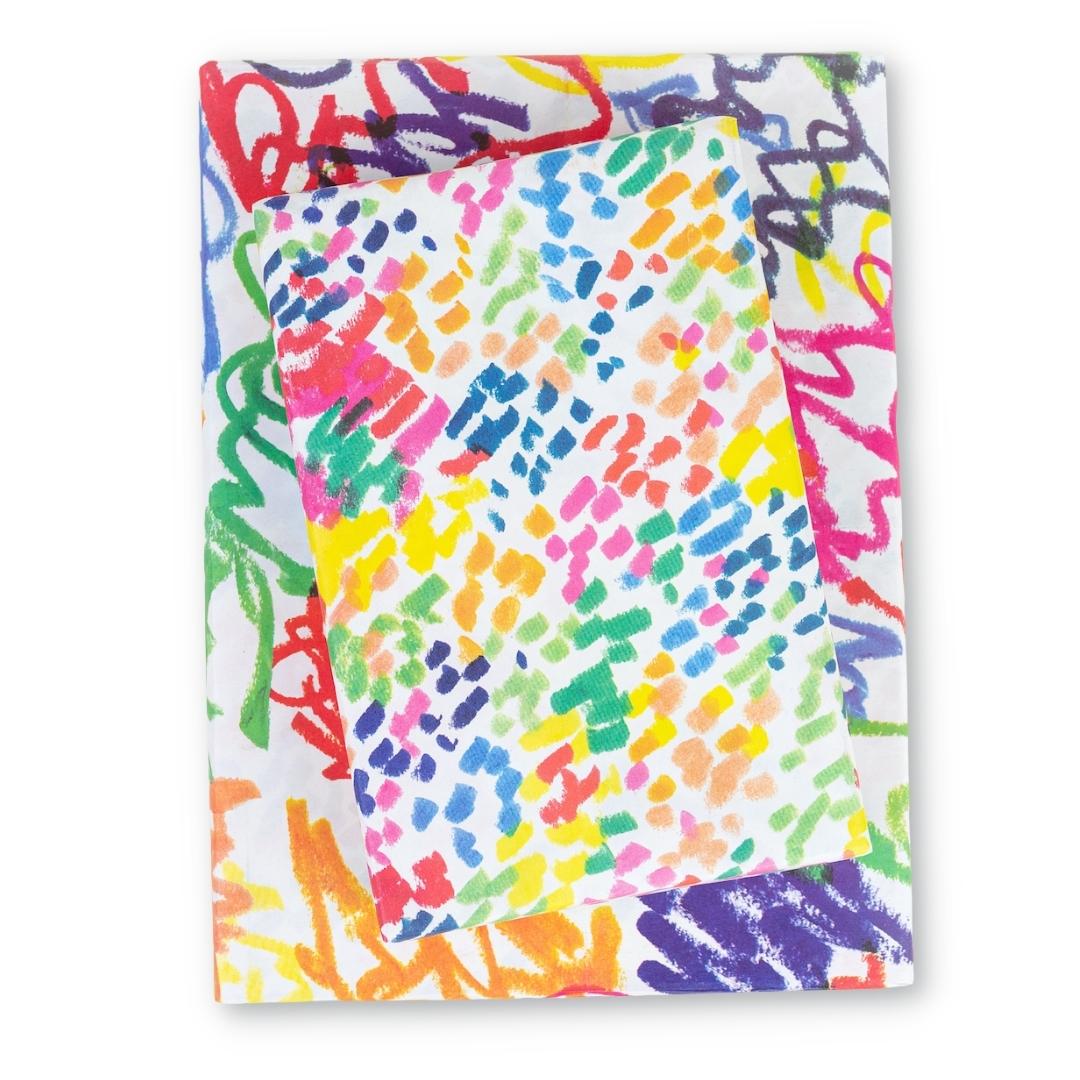
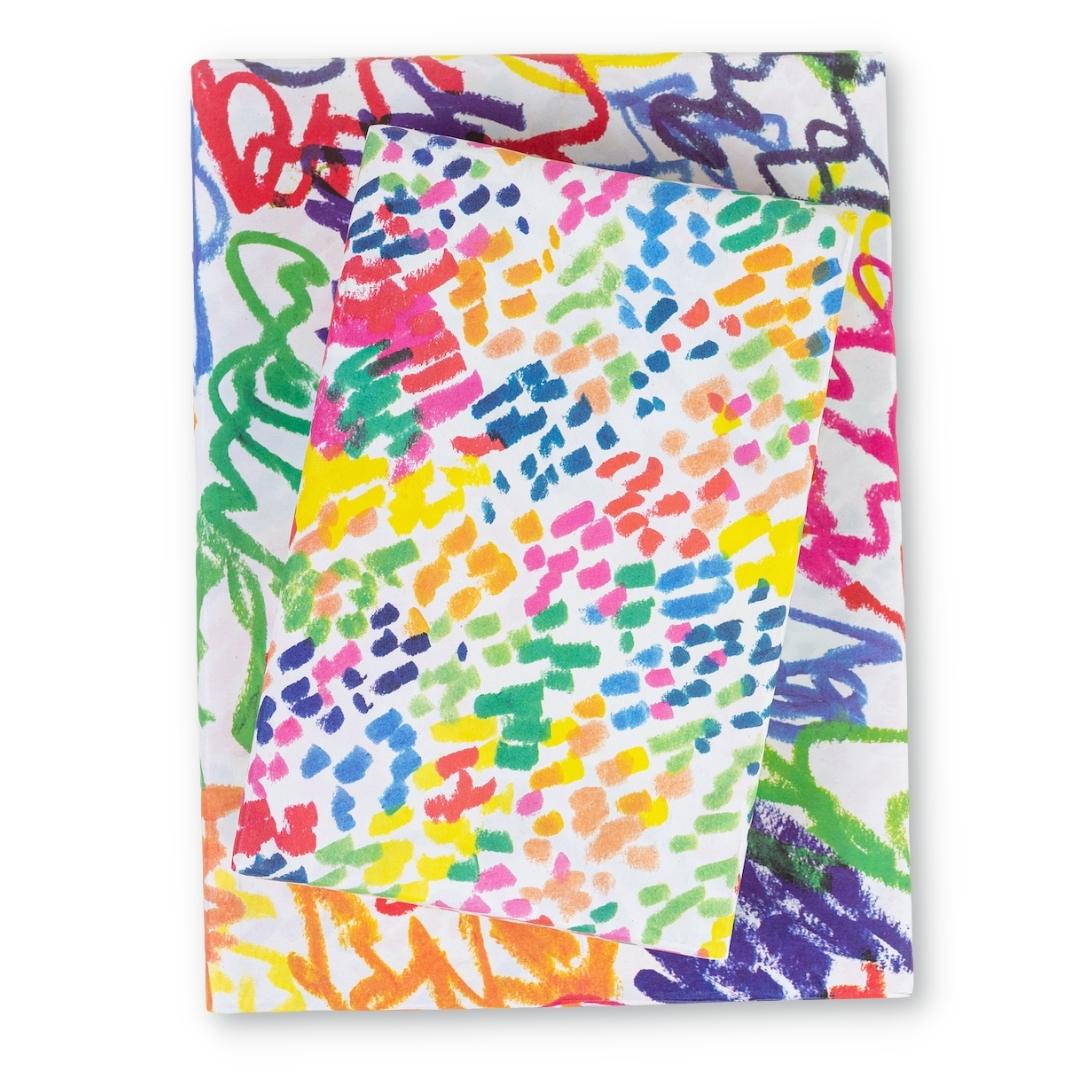


Funfetti/ Squiggles - Double-sided Eco Wrapping Paper for Everyday Gifting
$10.80
Celebrate sustainably with our recycled and recyclable double-sided eco wrapping paper featuring the cheerful art of professional illustrator and graphic designer, Nadia Hassan. Reversible patterns make gift wrapping fun! Paper works great for crafting, too.
Package includes three sheets + adhesive gift tags
• Sheet size 21.5" x 34"
• Premium newsprint + soy-based inks
• Plastic-free PLA packaging, certified compostable + biodegradable
• Flat, folded sheet for easy storage
• No unnecessary cardboard tube
• 100% recyclable and compostable
• Milled, printed and packaged in Washington State
JOIN the mission to green-up gifting!
#wrapriprecycle #wraphappy #gifthappily


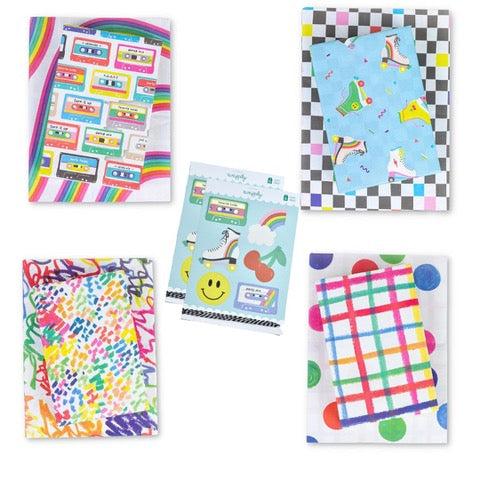
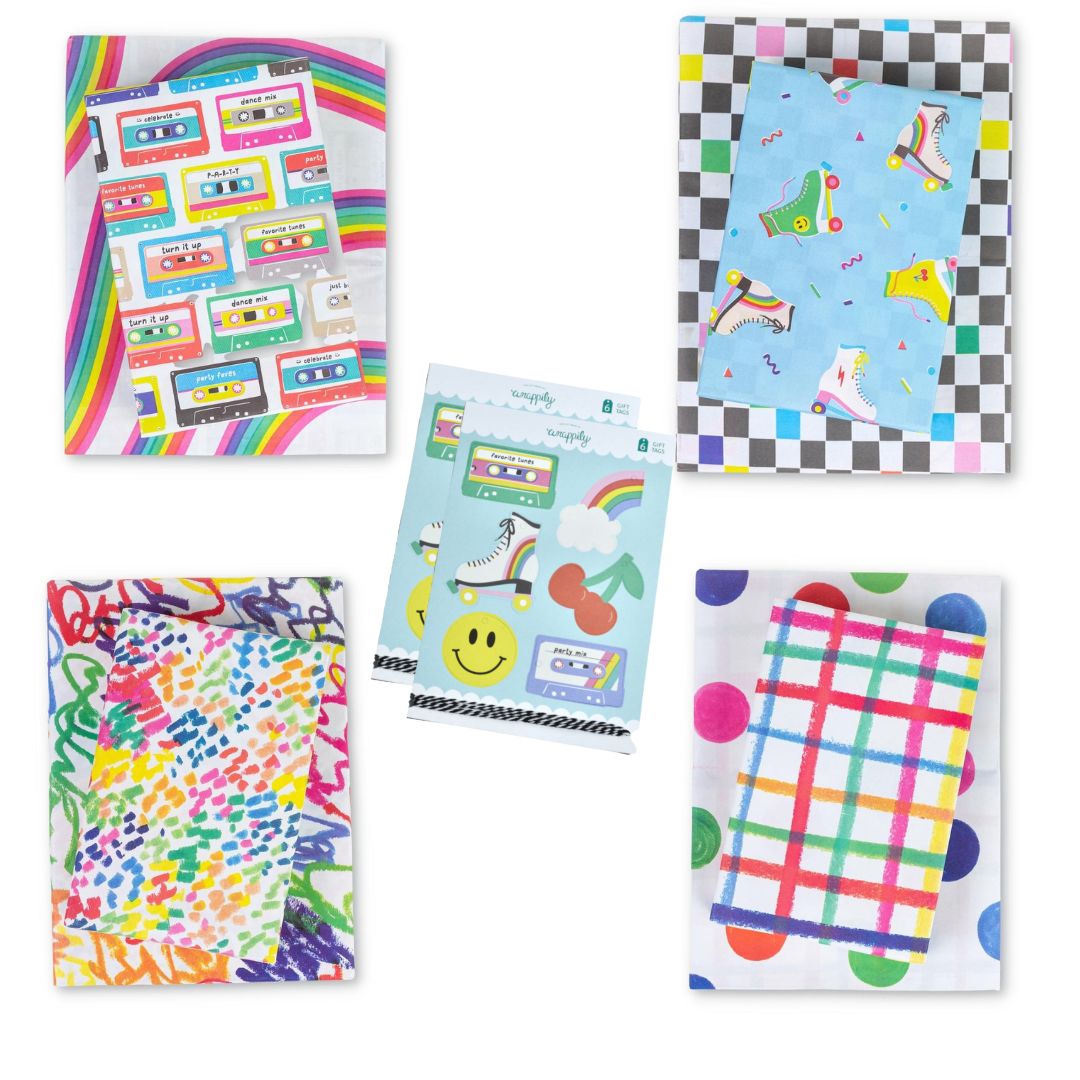
Wrap Bundle: Party Time by Nadia
$56.47 $59.45
Get the party started with this eco-friendly gift wrapping set! Mix and Match reversible patterns featuring 80s retro vibes and kids freeform styles of Nadia Hassan to create gifts that stand out in a crowd.
Bundle includes:
- Funfetti/Squiggles double-sided wrapping paper, 3 sheets
- Mix Tape/Go Bows double-sided wrapping paper, 3 sheets
- Roller Skates/80s Check double-sided wrapping paper, 3 sheets
- Jumbo Plaid/Jumbo Dot double-sided wrapping paper, 3 sheets
- 2x Party Time Pop-Out Gift Tags & Twine (12 tags total)
JOIN the mission to green-up gifting!
- Sheet size 21.5" x 34"
- Premium newsprint + soy-based inks
- Plastic-free PLA packaging (plus no unnecessary cardboard tube!)
- Flat, folded sheets for easy storage
- 100% recyclable and compostable
- Milled, printed and packaged in Washington State


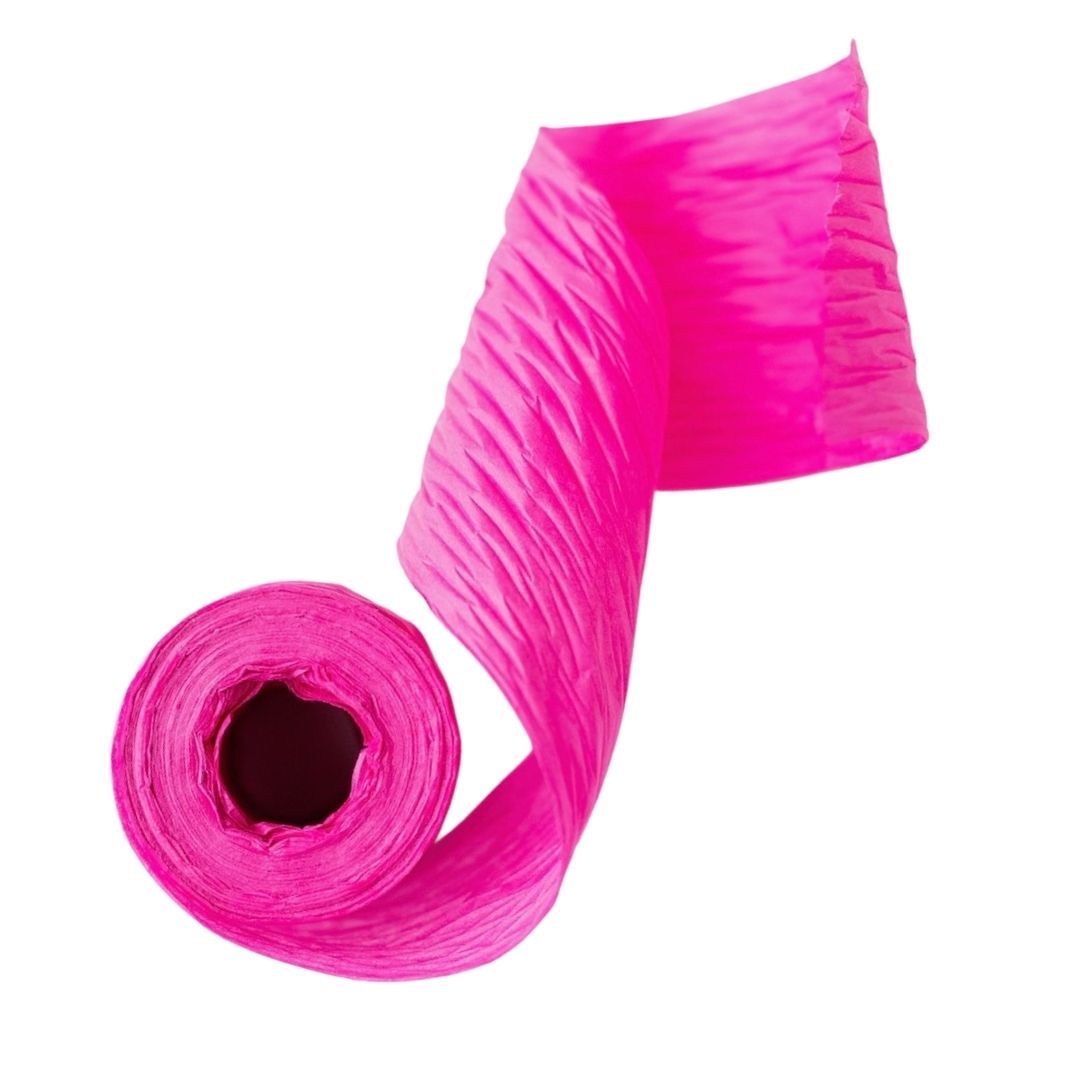
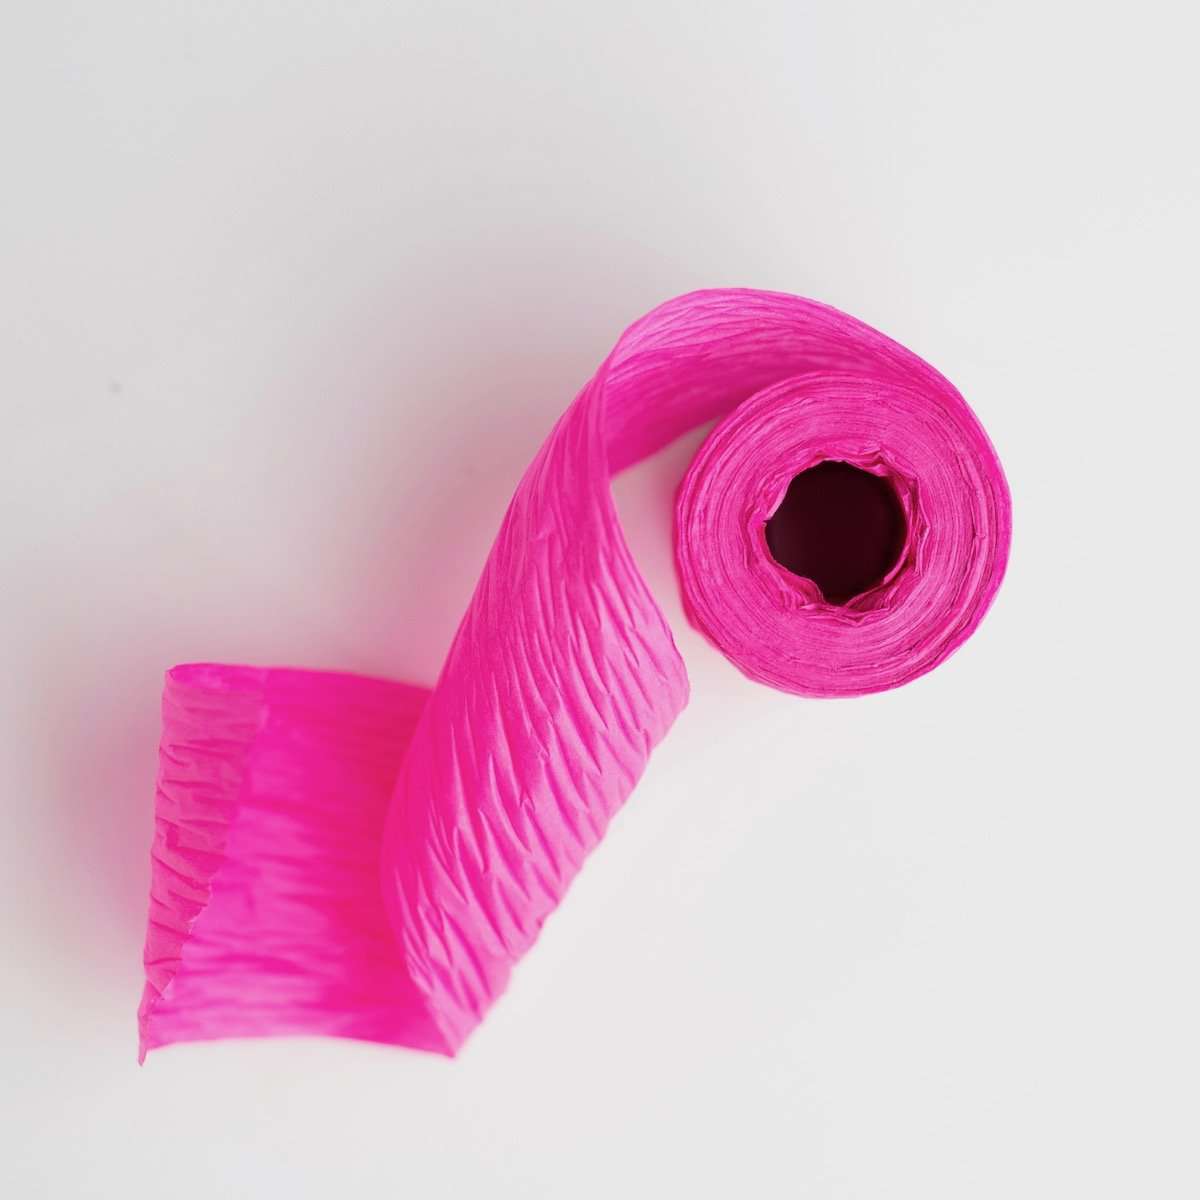


Pink (Paper Ribbon)
$7.50
-
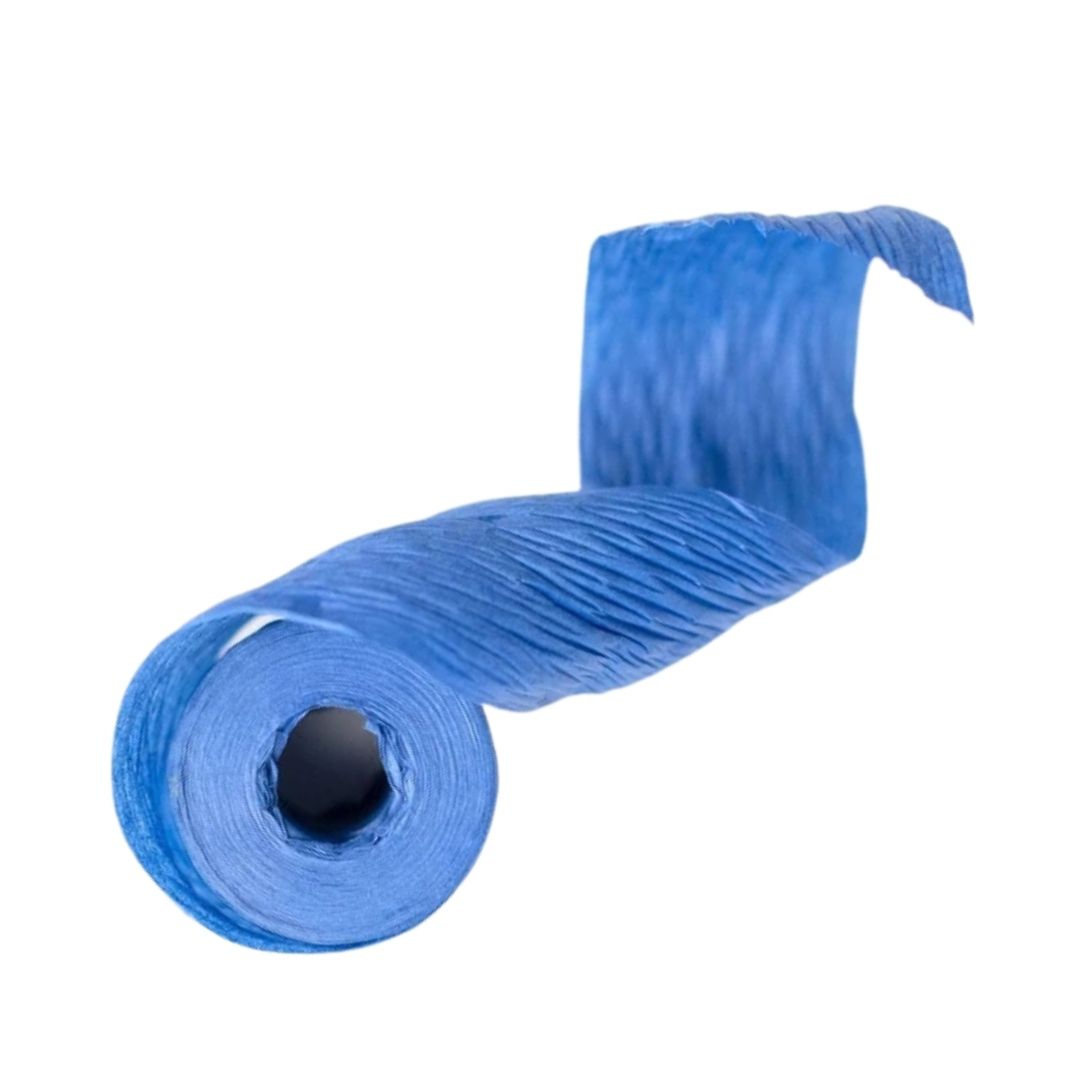
Wrap it up and tie it with a bow! This eco-friendly paper ribbon not only adds a perfect pop of color, it's recyclable, compostable and made with non-toxic, water soluble dyes. What a score! It's shapable, versatile, fairly sturdy, and has a great crinkle texture allowing you to get creative tying-on that finishing touch to your gifts.
-
Ribbon is 1.5" wide. Each spool is 25 yards.


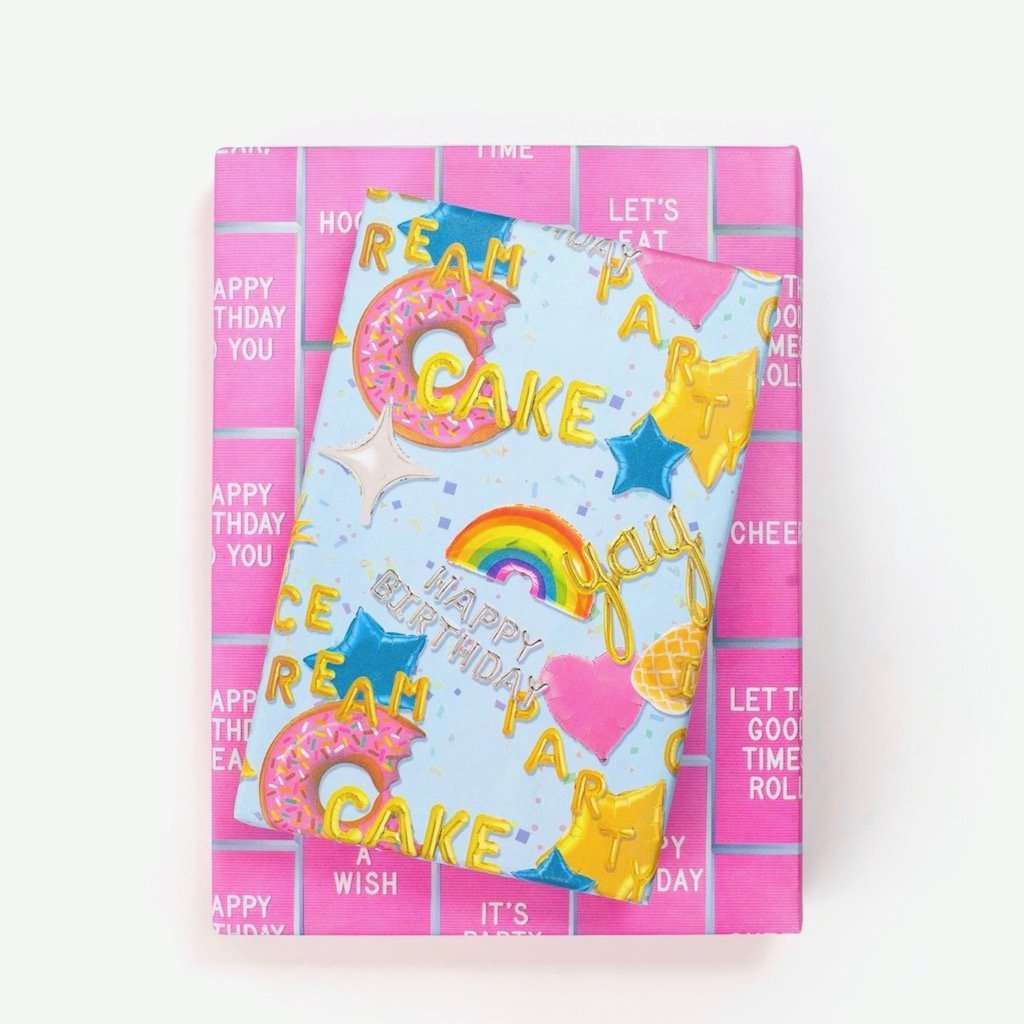
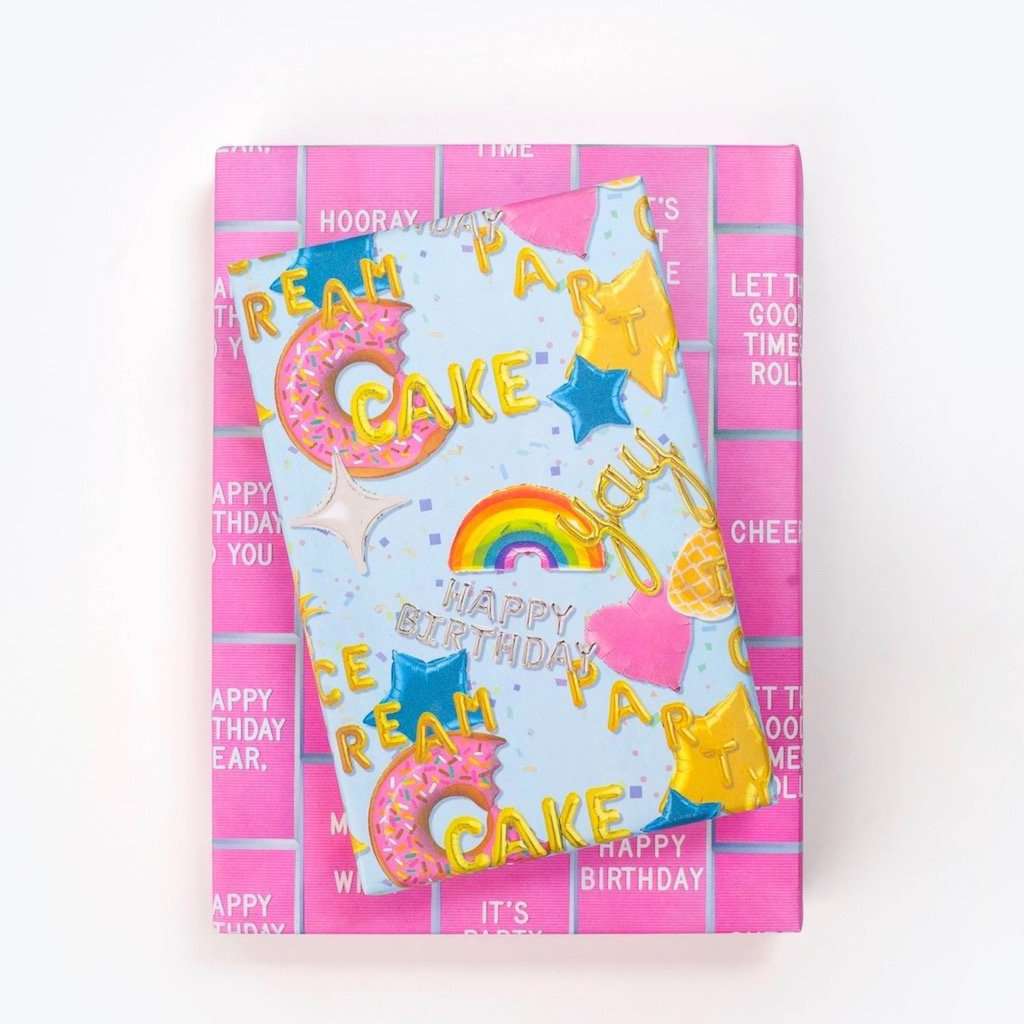


Birthday Balloons - Double-sided Eco Wrapping Paper for Everyday Gifting
$9.99 $10.80
Cue the confetti-popper and signal the balloon release... we're super excited to present our first-ever designated birthday wrap. Birthday Balloons is a special three sheet set featuring birthday wishes spelled out on a pink letterboard on one side and on the other, a festive foil balloon scene—without any of the environmental-guilt of the real thing! Top off the fun with one of the set's three coordinating adhesive gift tags.
Wrappily's reversible gift wrap sheets come flat and folded with complementary gift tag stickers. Sheet size is 21.5" x 34”. Printed in Washington State on recycled and recyclable premium-grade newsprint.


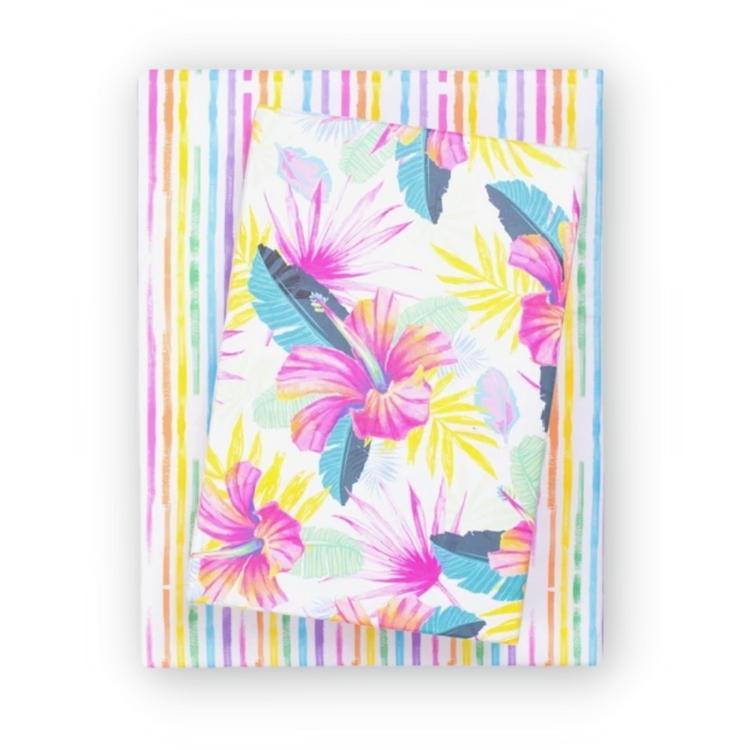
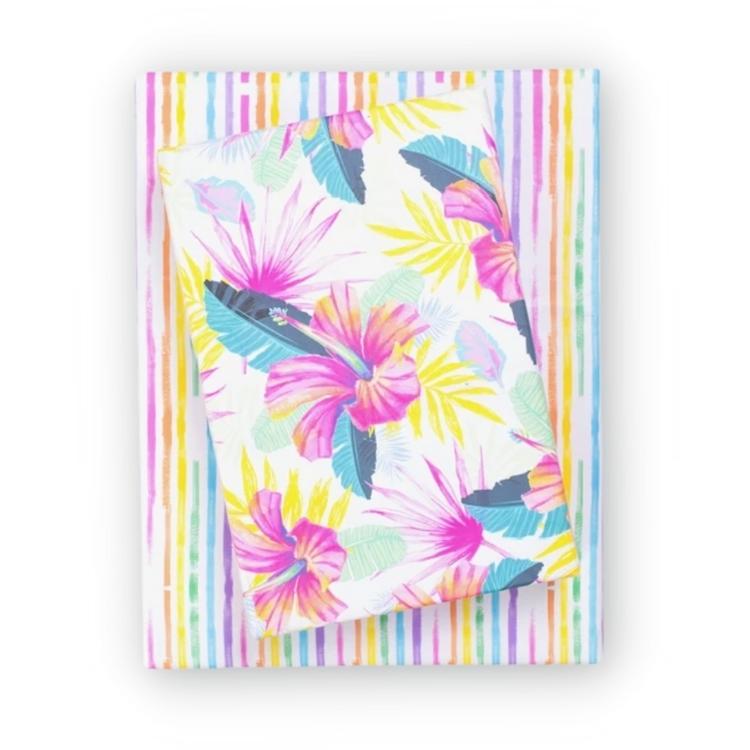


Hibiscus Fan/ Rainbow Stripes
$10.80
It's hard to say which is more uplifting here, the unabashedly happy painted rainbow stripes or the deliciously divine floral fan palms. We know one thing, when used together there's a multiplier effect of pure joy. Hibiscus Fan Palm/ Rainbow Stripes is part of our new everyday gift wrap collection, Over the Rainbow, designed for us by Hawaii-based fine artist Lauren Roth.
Wrappily's reversible gift wrap sheets come flat and folded with complementary gift tag stickers. Sheet size is 21.5" x 34". Printed in Washington State on recycled and recyclable newsprint.


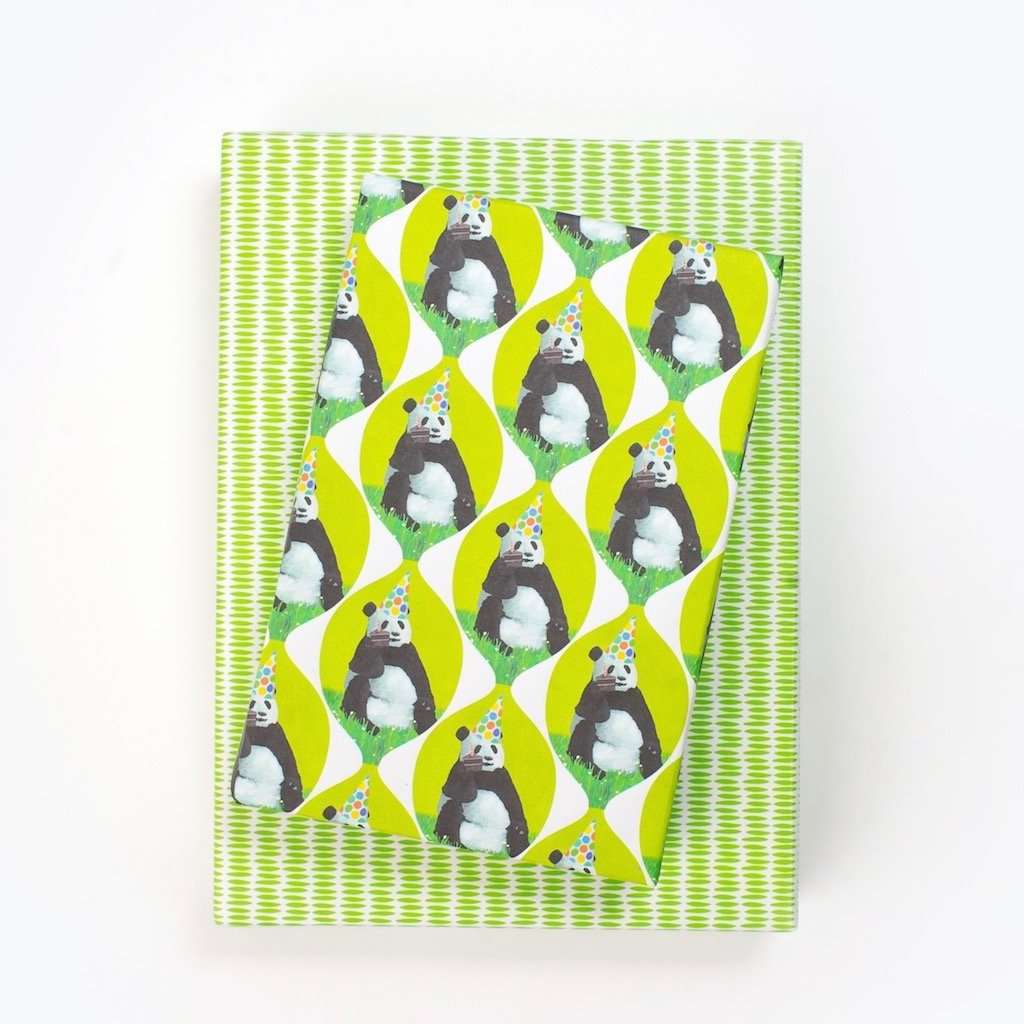
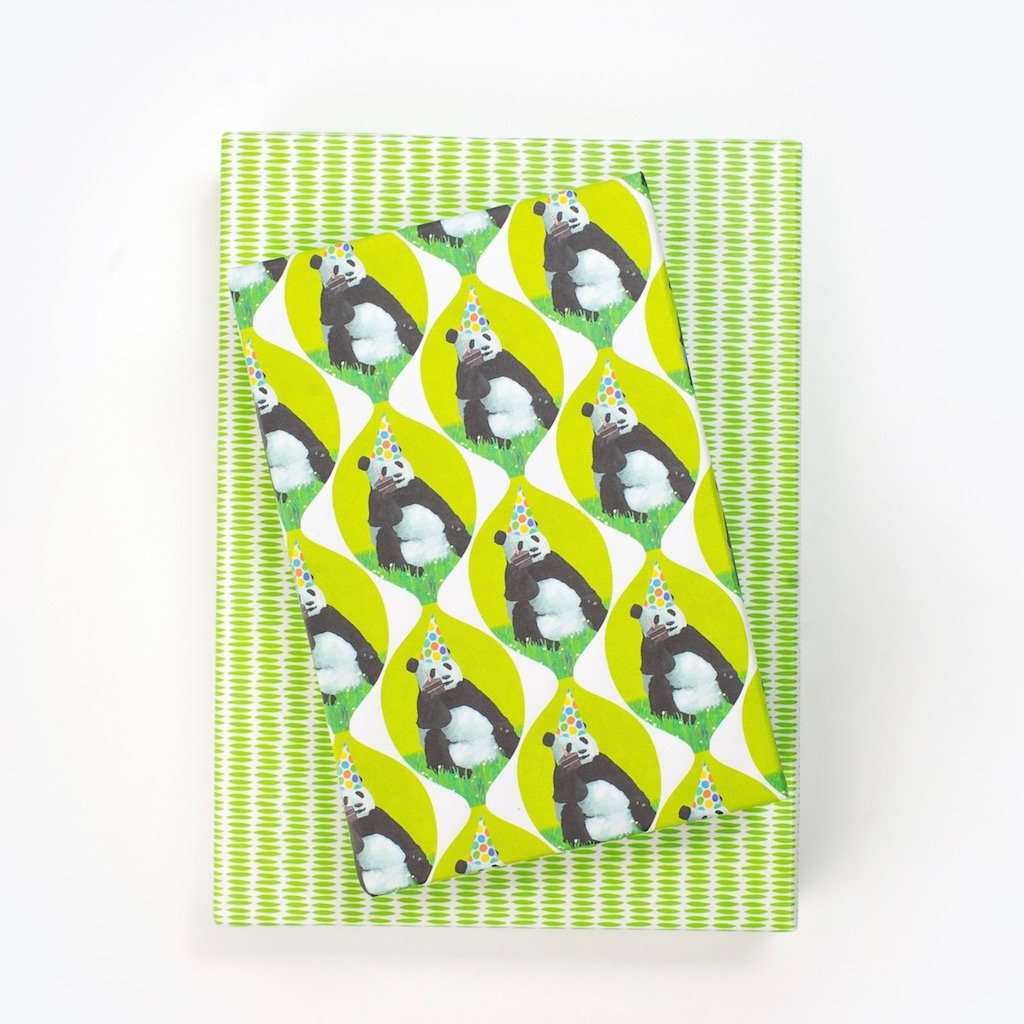


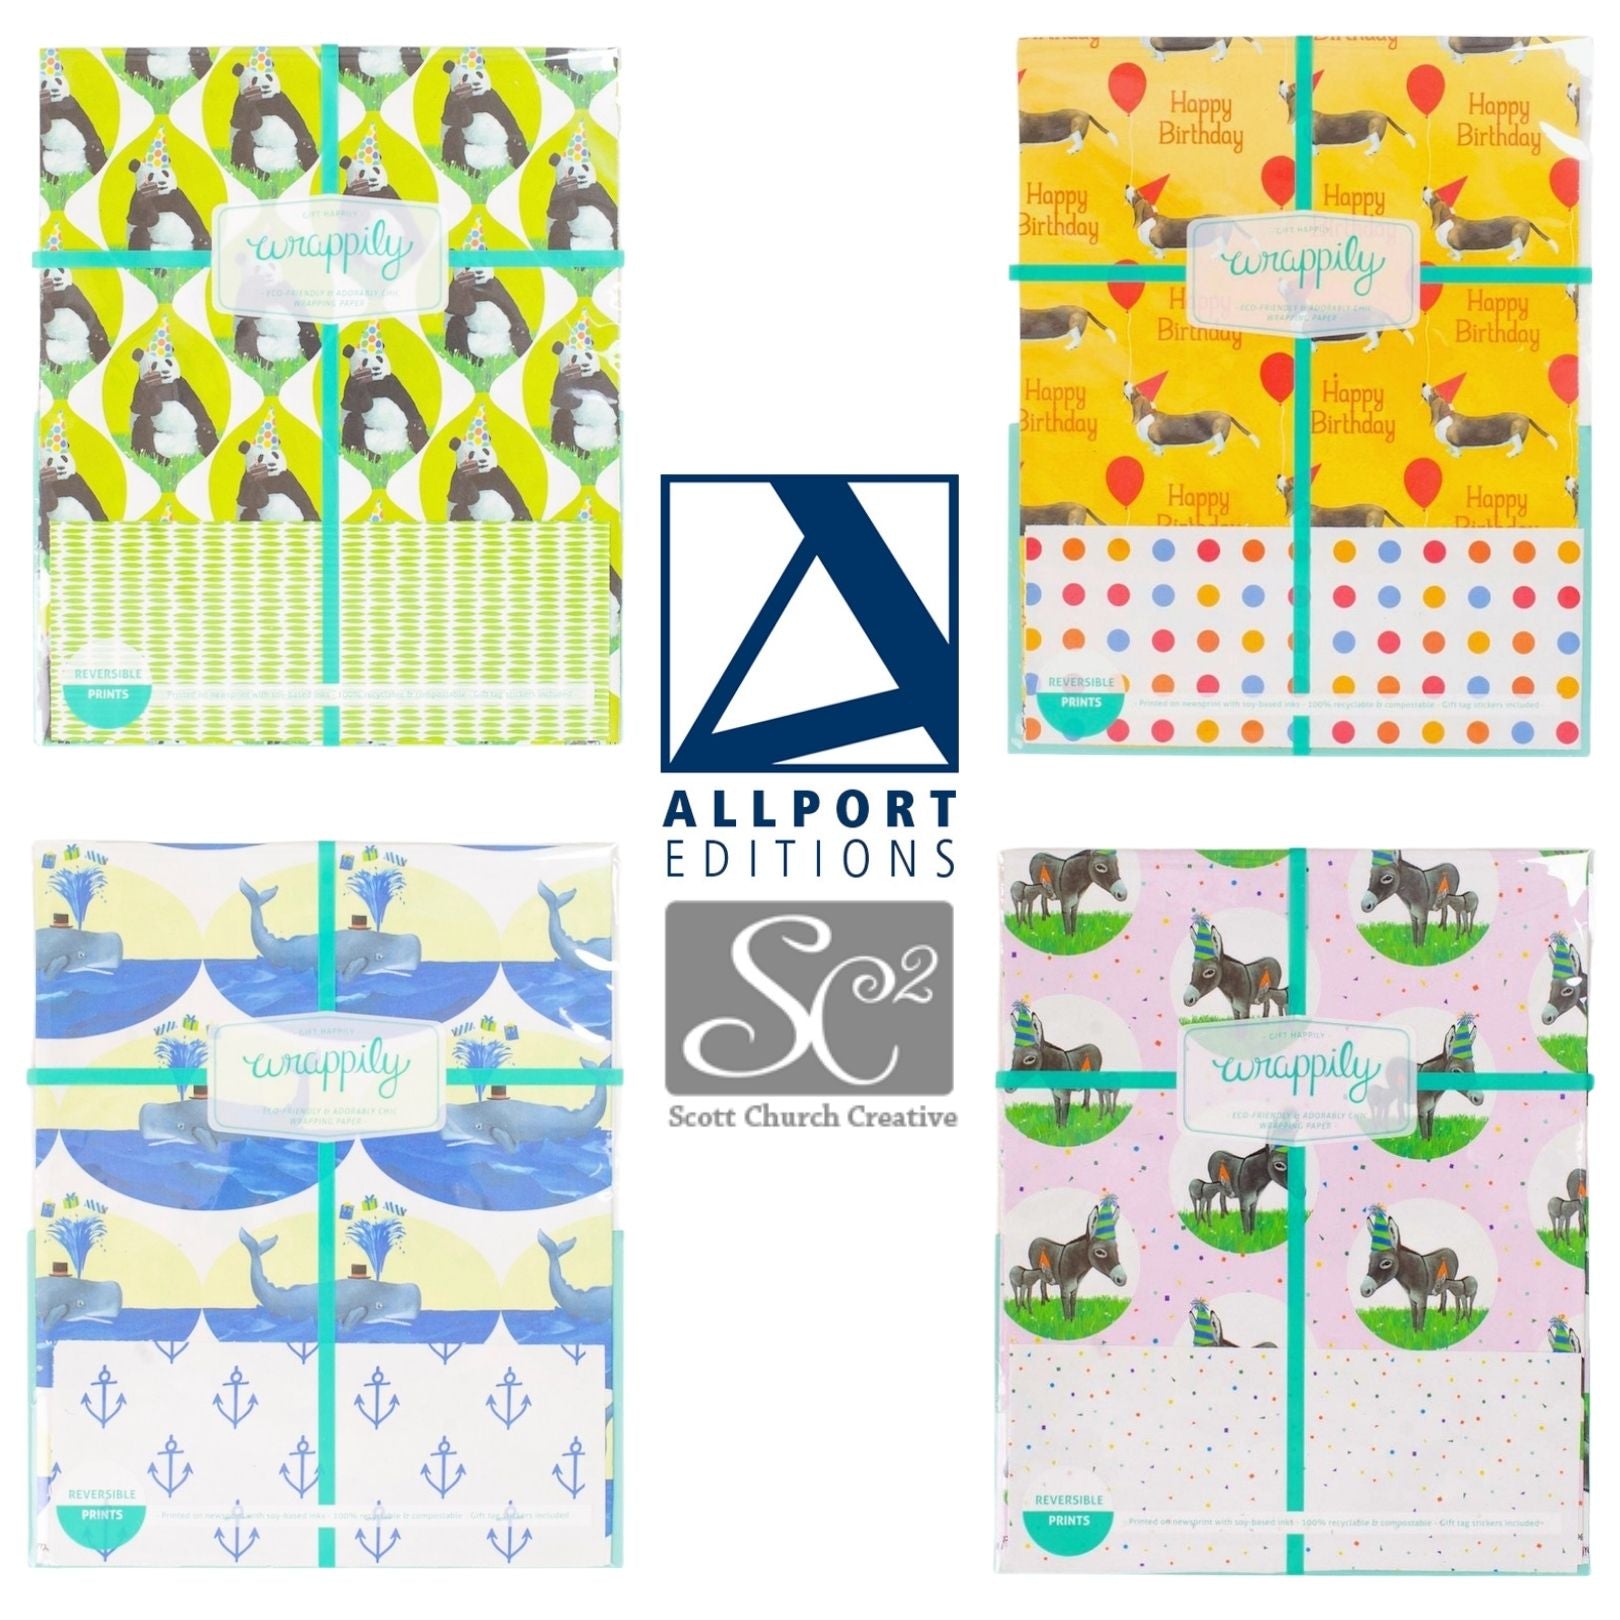
Panda Loves Cake By Allport Editions
$8.99 $10.80
Panda loves a good party—and his favorite is cake! Artist Scott Church's collection of fun-loving animals are top-selling favorites at Portland-based stationers, Allport Editions. Rendered primarily in acrylics, his frolicking wildlife display an earnest joy that leaps off of the page. Package includes three sheets of wrapping paper with a coordinating textile pattern on the back for easy mix-n-match gift wrapping.
Reversible gift wrap sheets come flat and folded with complementary gift tag stickers. Full sheet size is 21.5" x 34”. Printed in Washington State on recycled and recyclable newsprint.


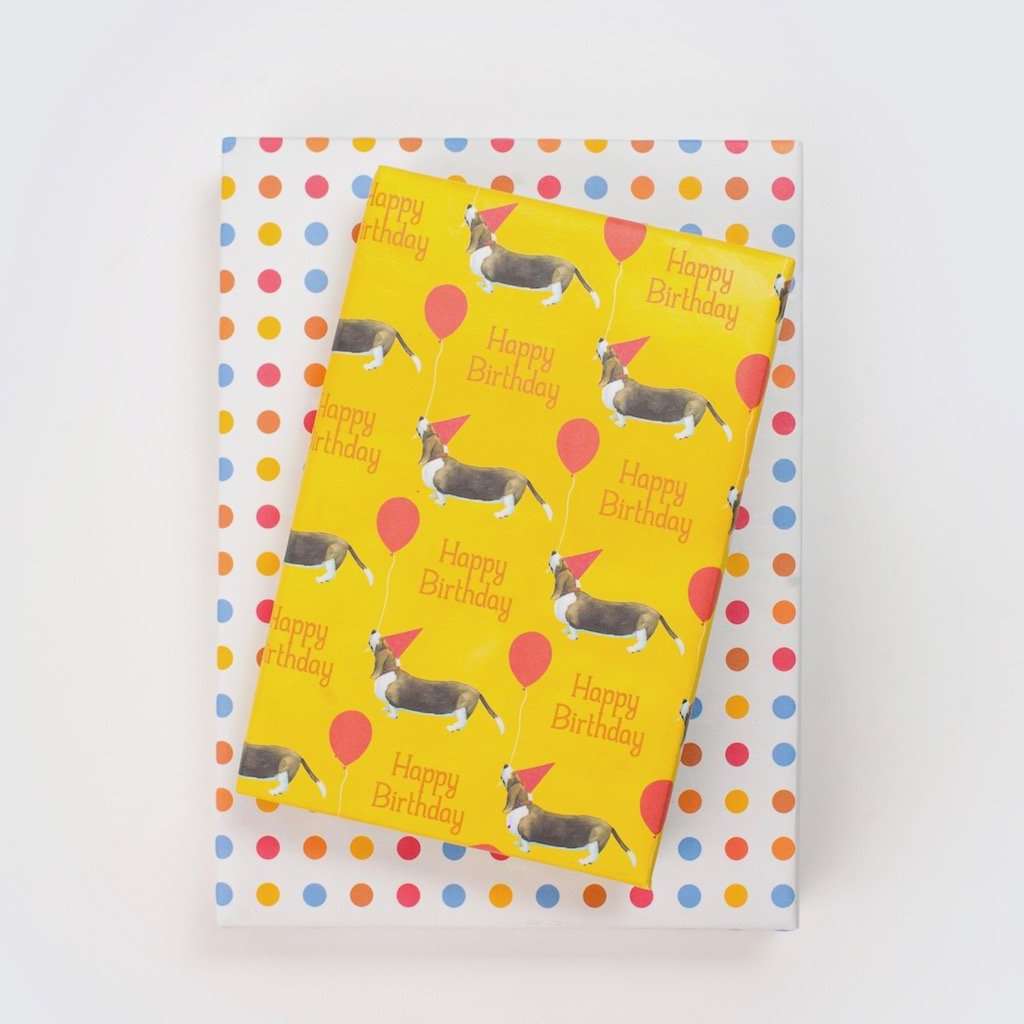
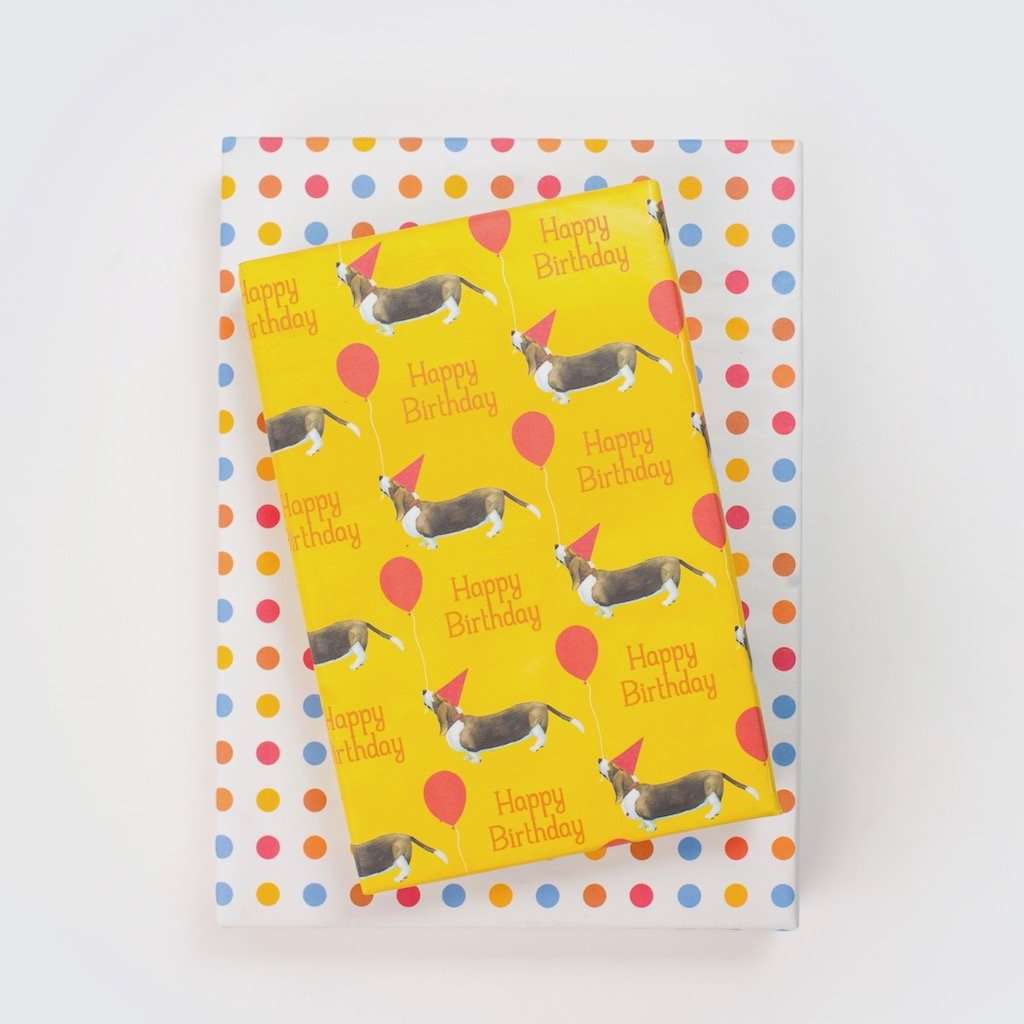


Basset Hound Polka Dot By Allport Editions
$9.99 $10.80
Ain't nuthin' but a red-balloon-bearing-basset hound dog here to say Happy Birthday! Artist Scott Church's collection of fun-loving animals are top-selling favorites at Portland-based stationers, Allport Editions. Rendered primarily in acrylics, his frolicking wildlife display an earnest joy that leaps off of the page. Package includes three sheets of wrapping paper with a coordinating textile pattern on the back for easy mix-n-match gift wrapping.
Reversible gift wrap sheets come flat and folded with complementary gift tag stickers. Full sheet size is 21.5 x 34". Printed in Washington State on recycled and recyclable newsprint.


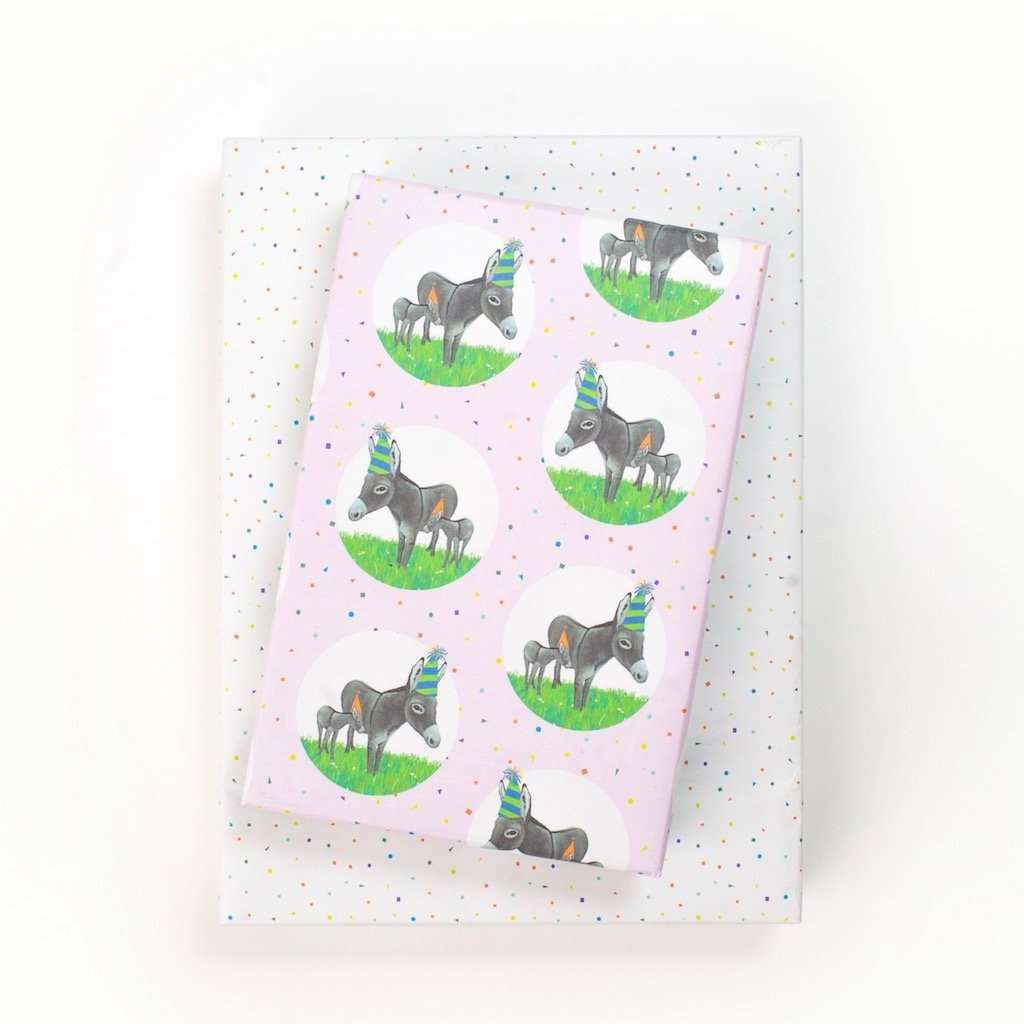
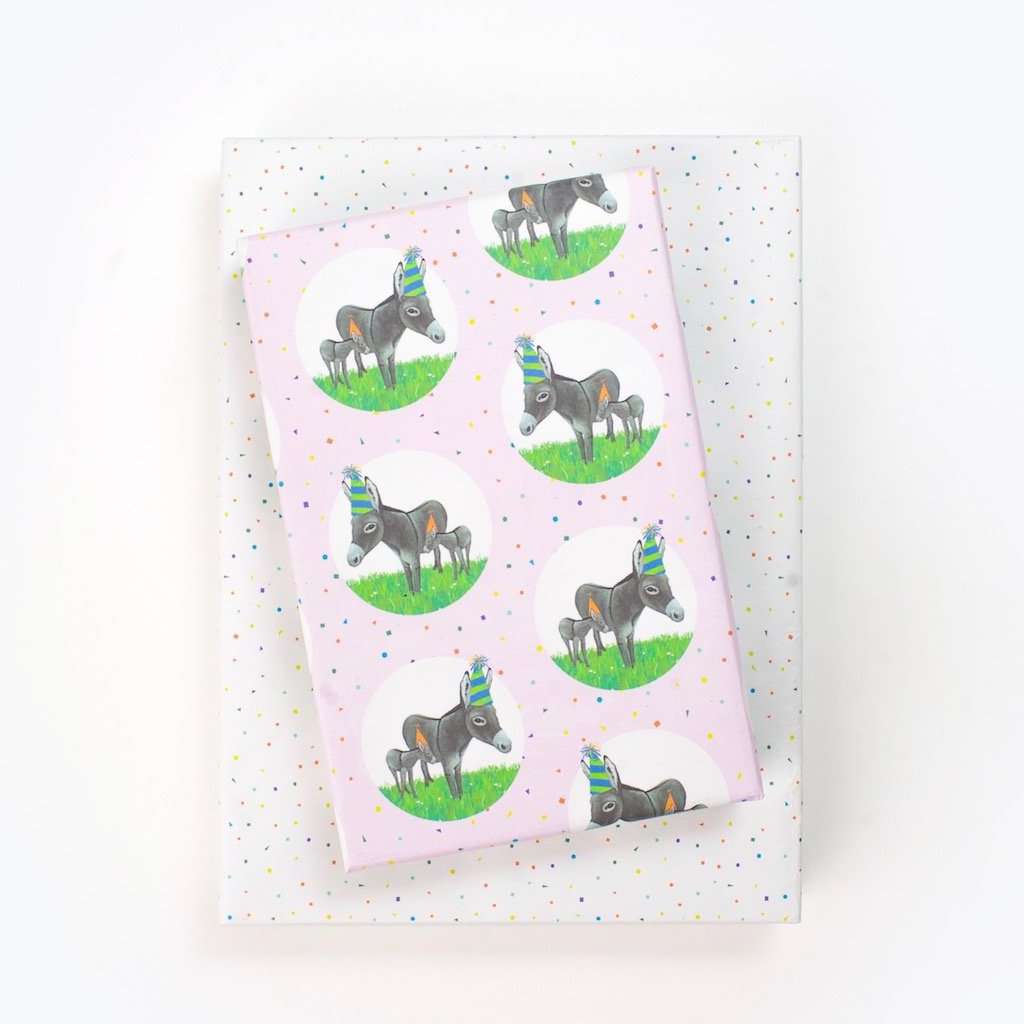


Donkey Confetti Reversible Birthday Wrapping Paper, 3 sheets
$9.99 $10.80
No party is complete without confetti—and a donkey in a party hat! Artist Scott Church's collection of fun-loving animals are top-selling favorites at Portland-based stationers, Allport Editions. Rendered primarily in acrylics, his frolicking wildlife display an earnest joy that leaps off of the page. Package includes three sheets of wrapping paper with a coordinating textile pattern on the back for easy mix-n-match gift wrapping.
Three reversible gift wrap sheets come flat and folded with adhesive gift tags. Full sheet size is 21.5" x 34”. Printed in Washington State on recycled and recyclable newsprint.


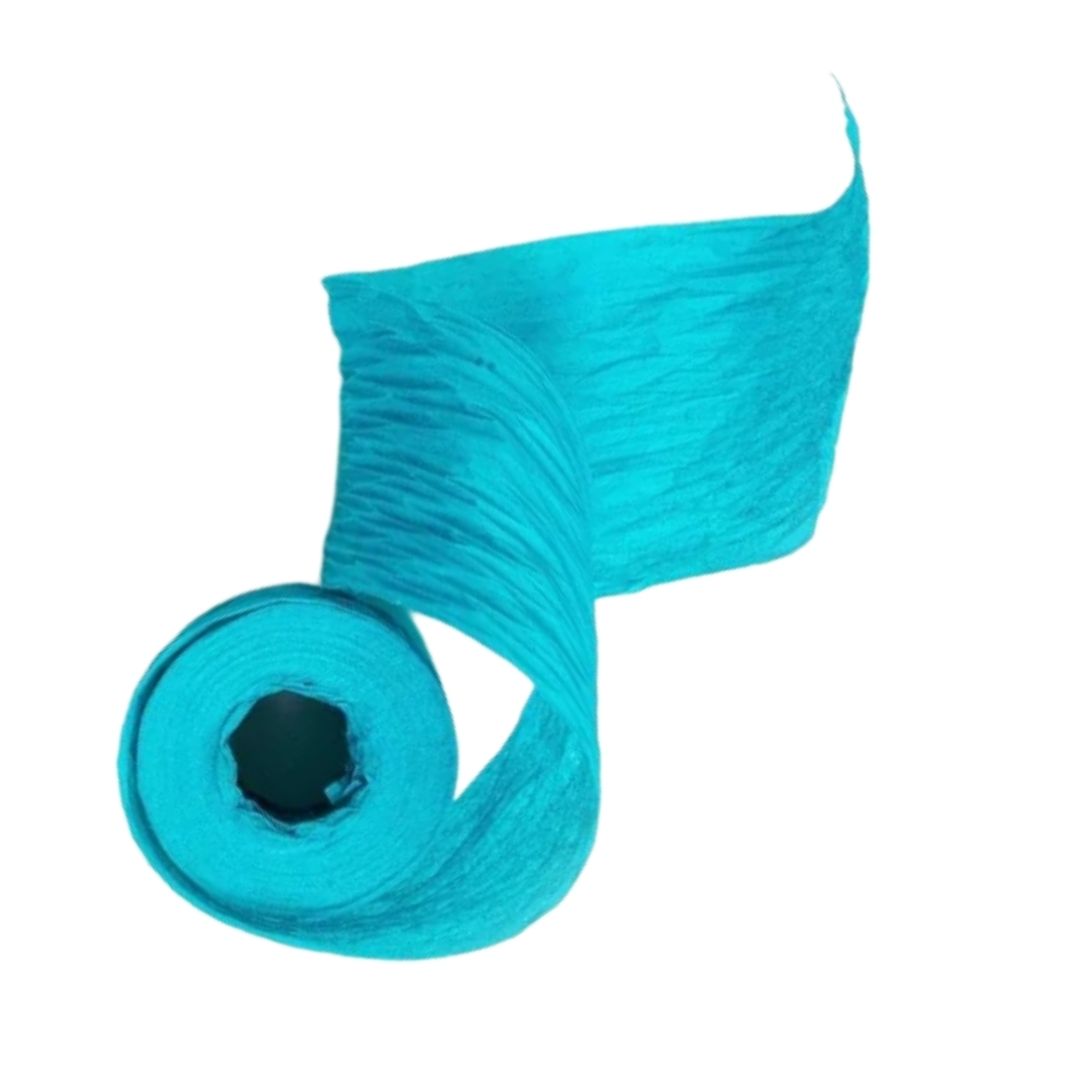
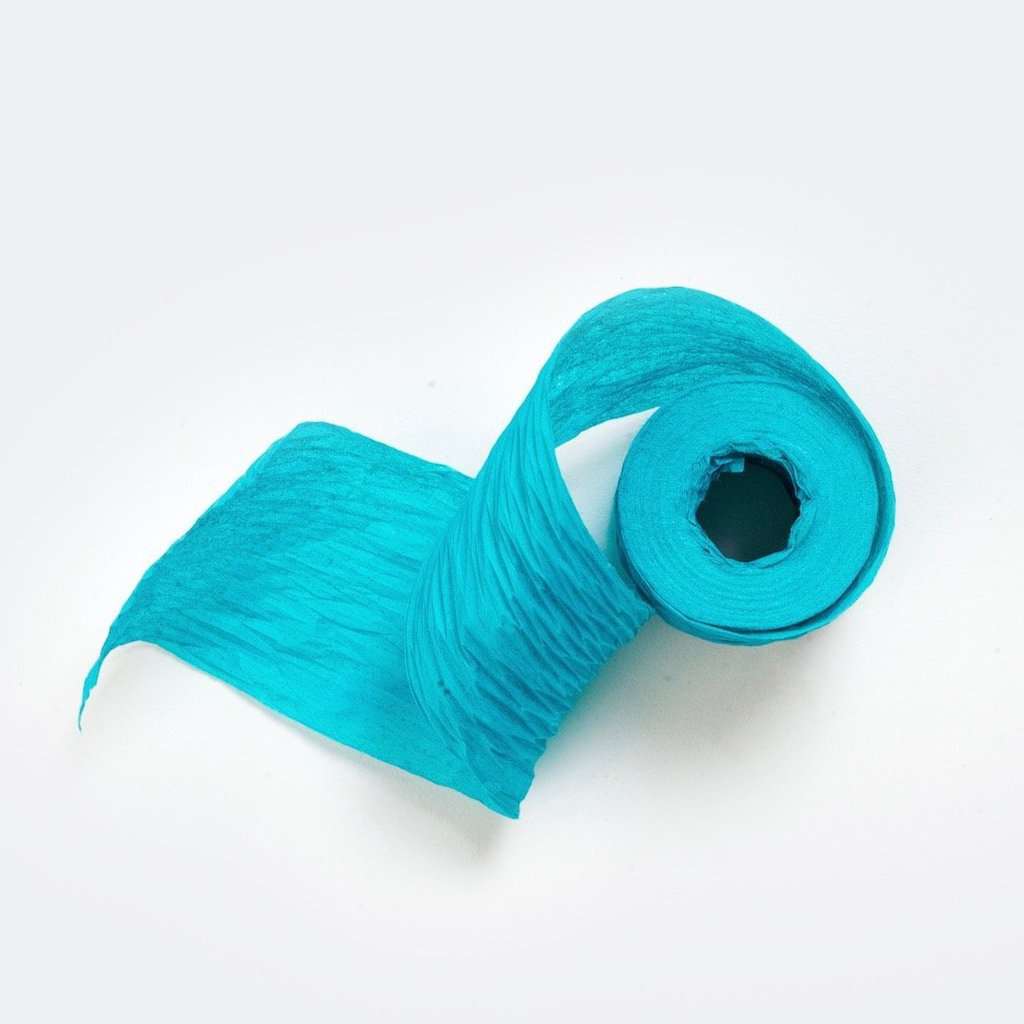


Turquoise (Paper Ribbon)
$7.50
– Sold Out-
Wrap it up and tie it with a bow! This eco-friendly paper ribbon not only adds a perfect pop of color, it's recyclable, compostable and made with non-toxic, water soluble dyes. What a score! It's shapable, versatile, fairly sturdy, and has a great crinkle texture allowing you to get creative tying-on that finishing touch to your gifts.
-
Ribbon is 1.5" wide. Each spool is 25 yards.


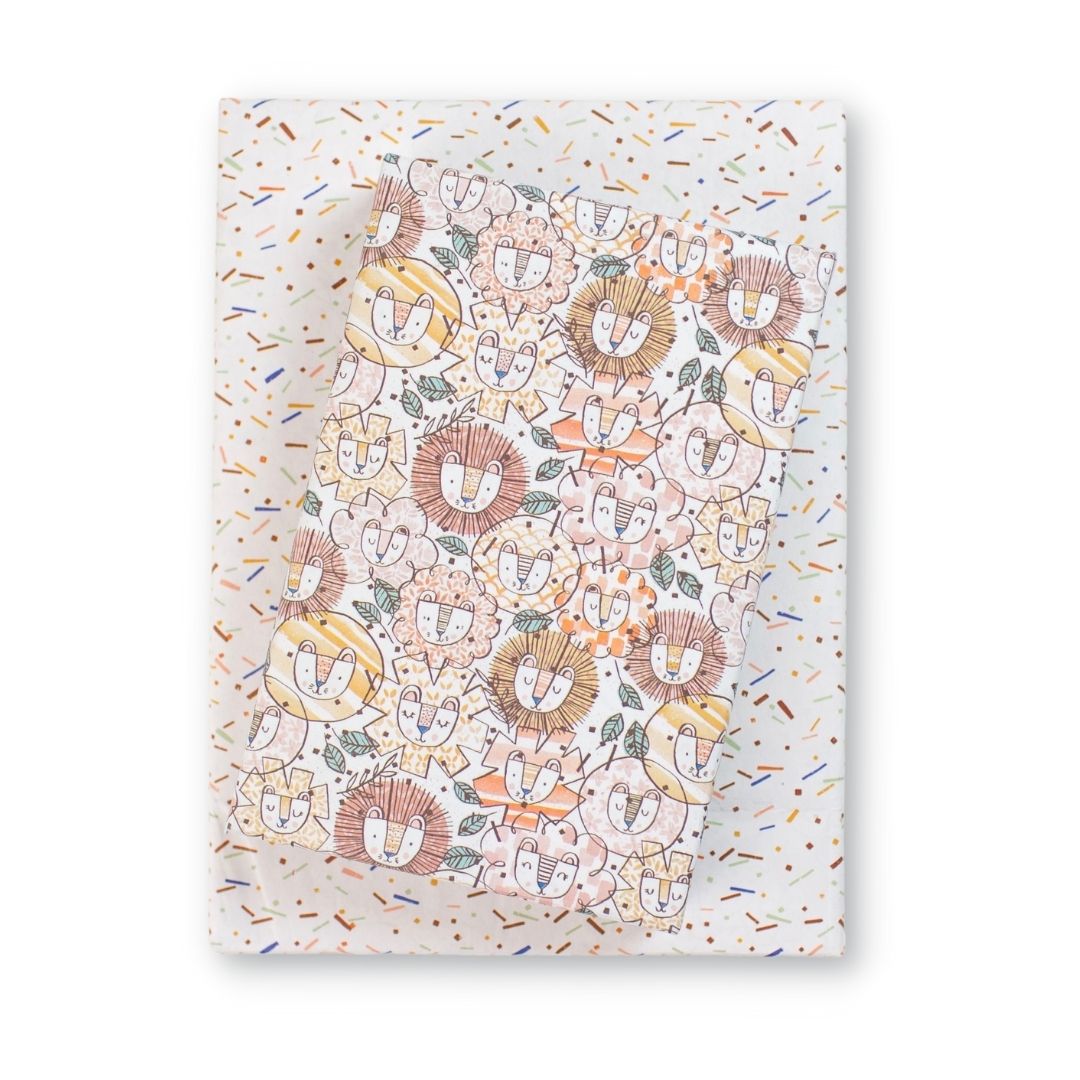
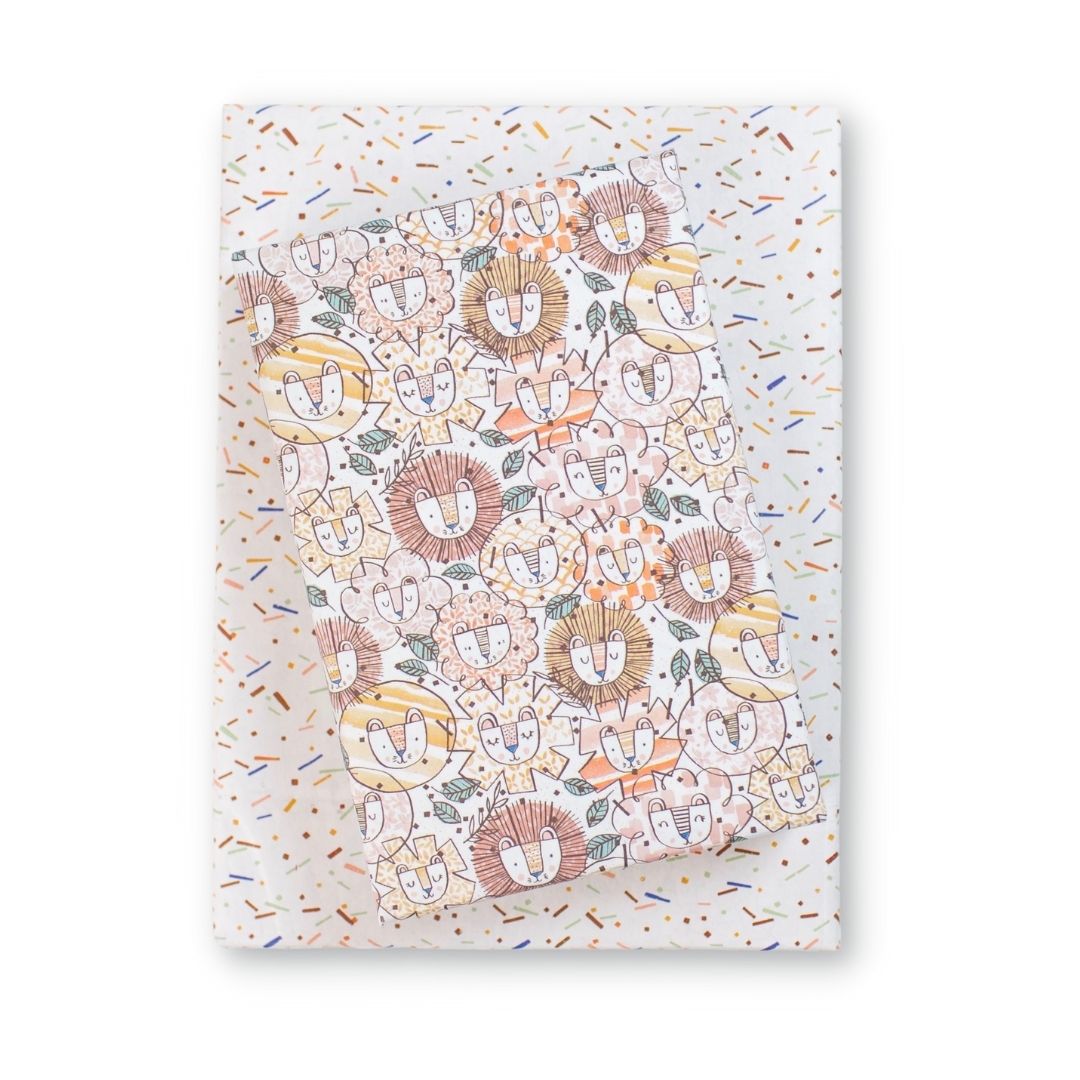


Lion Fiesta
$10.80
The sweetest pride of lions you ever did see. Awash in earthy pastel hues, these cool cats make a perfect gift wrap for baby, kids, and nature lovers of all ages. Designed by Tatiana Abaurre, Lion Fiesta is a crowd favorite from our annual Earth Day Design Contest.
Wrappily's reversible gift wrap sheets come flat and folded with complementary gift tag stickers. Sheet size is 21.5" x 34". Printed in Washington State on recycled and recyclable newsprint.


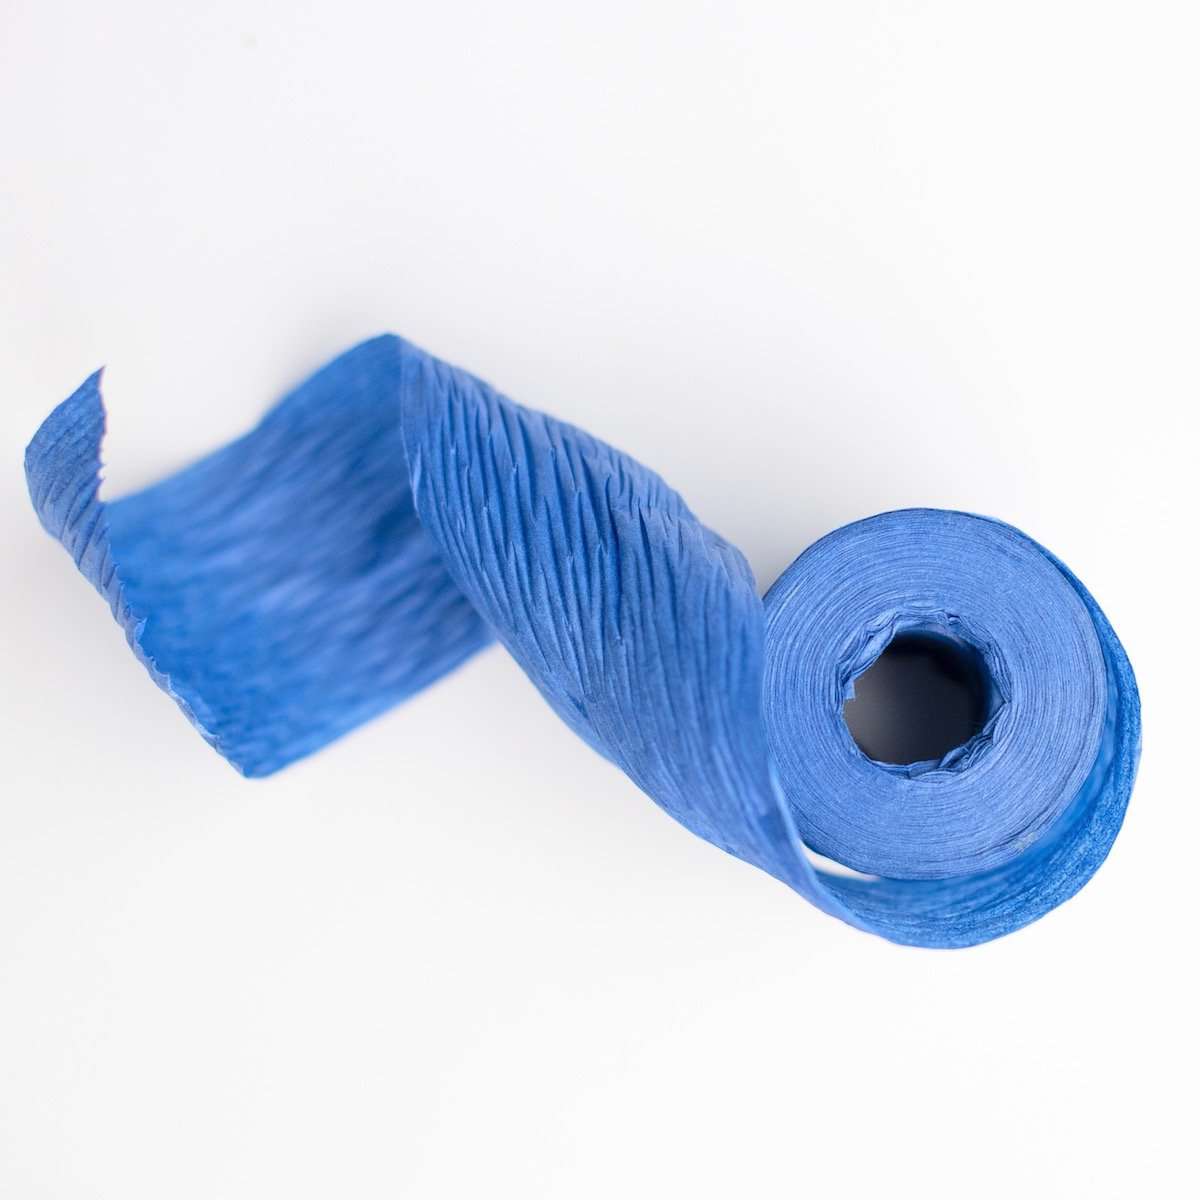


Navy (Paper Ribbon)
$7.50
-
Wrap it up and tie it with a bow! This eco-friendly paper ribbon not only adds a perfect pop of color, it's recyclable, compostable and made with non-toxic, water soluble dyes. What a score! It's shapable, versatile, fairly sturdy, and has a great crinkle texture allowing you to get creative tying-on that finishing touch to your gifts.
-
Ribbon is 1.5" wide. Each spool is 25 yards.


Wrap Bundle: Birthday Party Animals by Scott Church
$37.99 $43.20
Bundle and save! Artist Scott Church's collection of fun-loving animals are top-selling favorites at Portland-based stationers, Allport Editions. Rendered primarily in acrylics, his frolicking wildlife display an earnest joy that leaps off of the page.
Bundle includes one package of:
Panda Loves Cake • Basset Hound Polka Dot • Whales & Anchors • Donkey Confetti Paper
Each package includes 3 sheets + adhesive gift tags
• Sheet size 21.5" x 34"
• Premium newsprint + soy-based inks
• Plastic-free PLA packaging (Plus NO unnecessary cardboard tube!)
• Flat, folded sheet for easy storage
• 100% recyclable and compostable
• Milled, printed and packaged in Washington State
JOIN the mission to green-up gifting! #wrapriprecycle #wraphappy #gifthappily


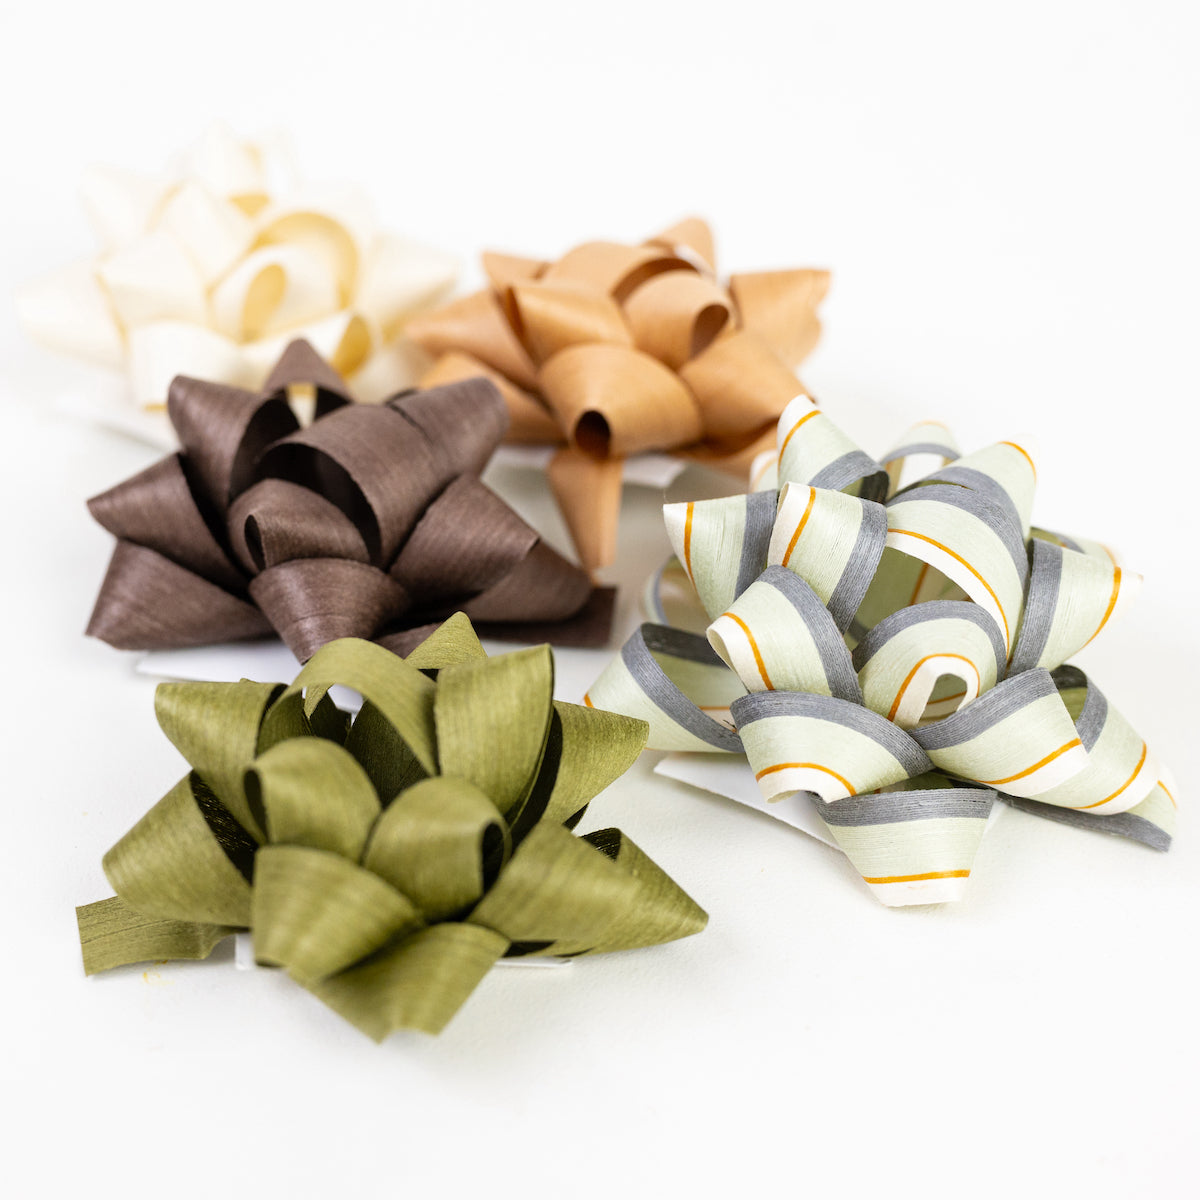
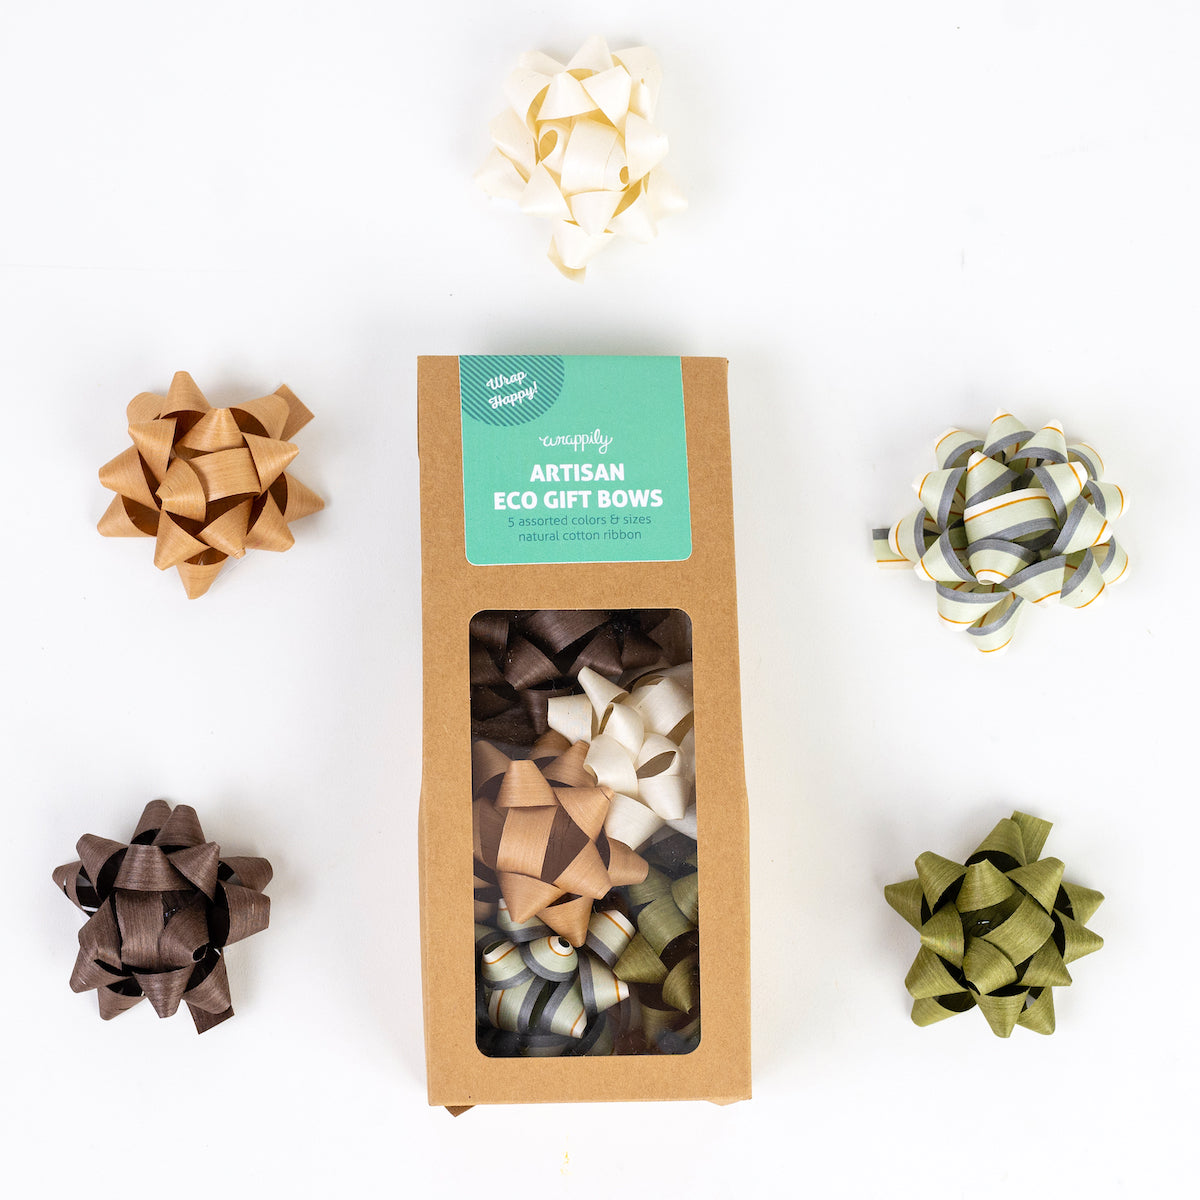


Neutrals Mix - Natural Cotton Gift Bows, Pack of 5
$10.50 $11.00
You just found an eco-friendly alternative to conventional plastic gift bows. Artisanally made of biodegradable natural cotton ribbon, these adhesive gift topper bows are cute, convenient and compostable. This box includes FIVE small-to-medium sized bows (2-3/8" & 3") in a neutral tones. Made in the USA. (1) 3" Cream (1) 3" Driftwood Stripe (1) 2 3/8" Kraft (1) 2 3/8" Fern (1) 2 3/8" Brown


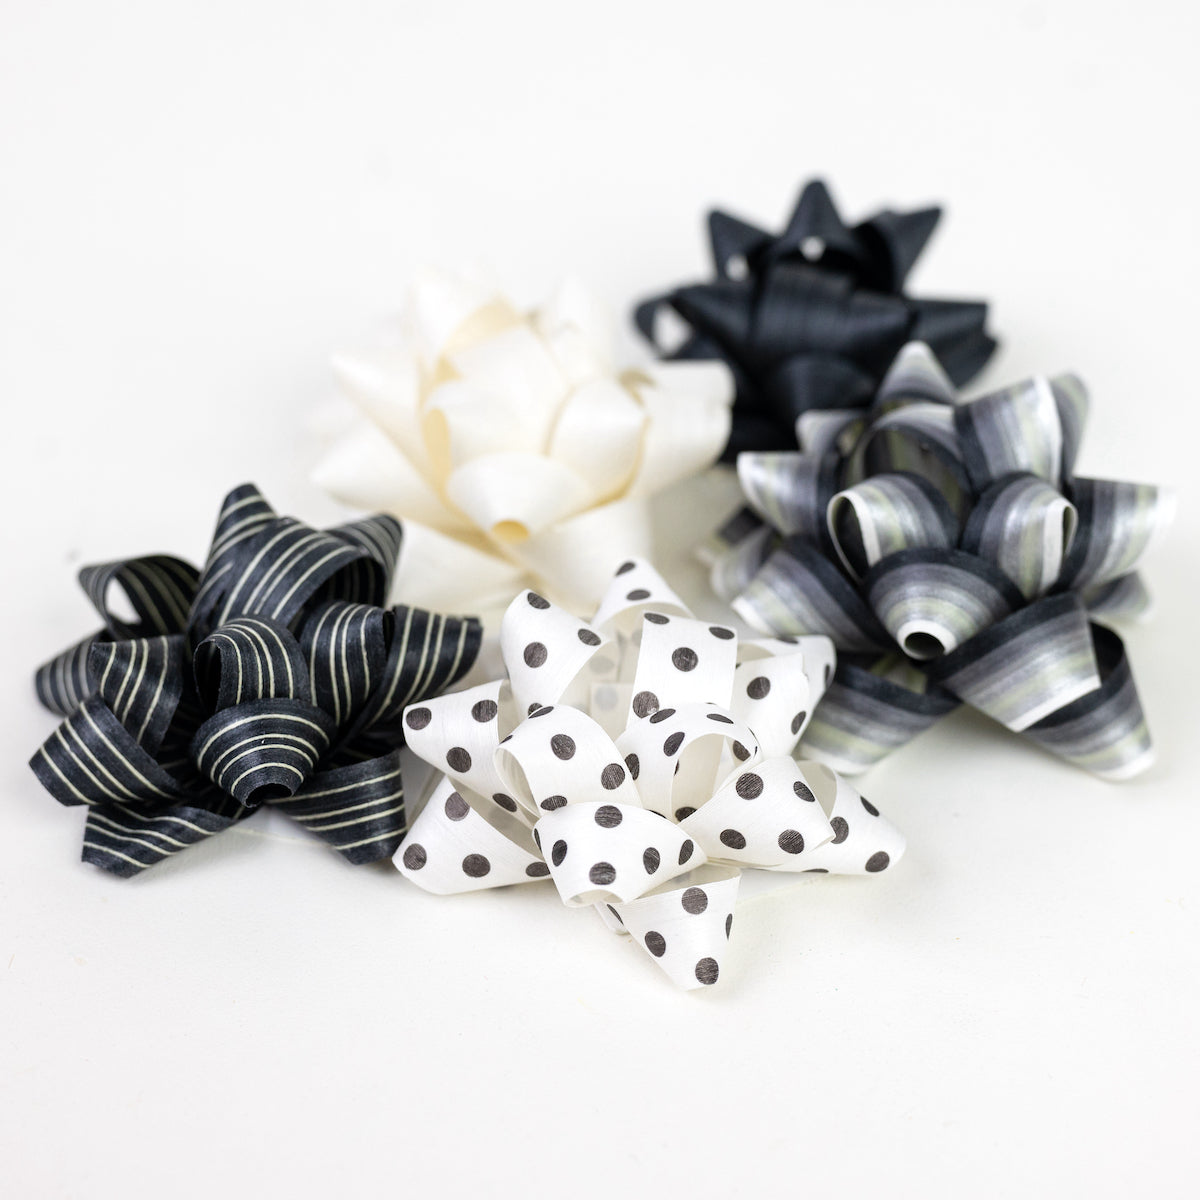
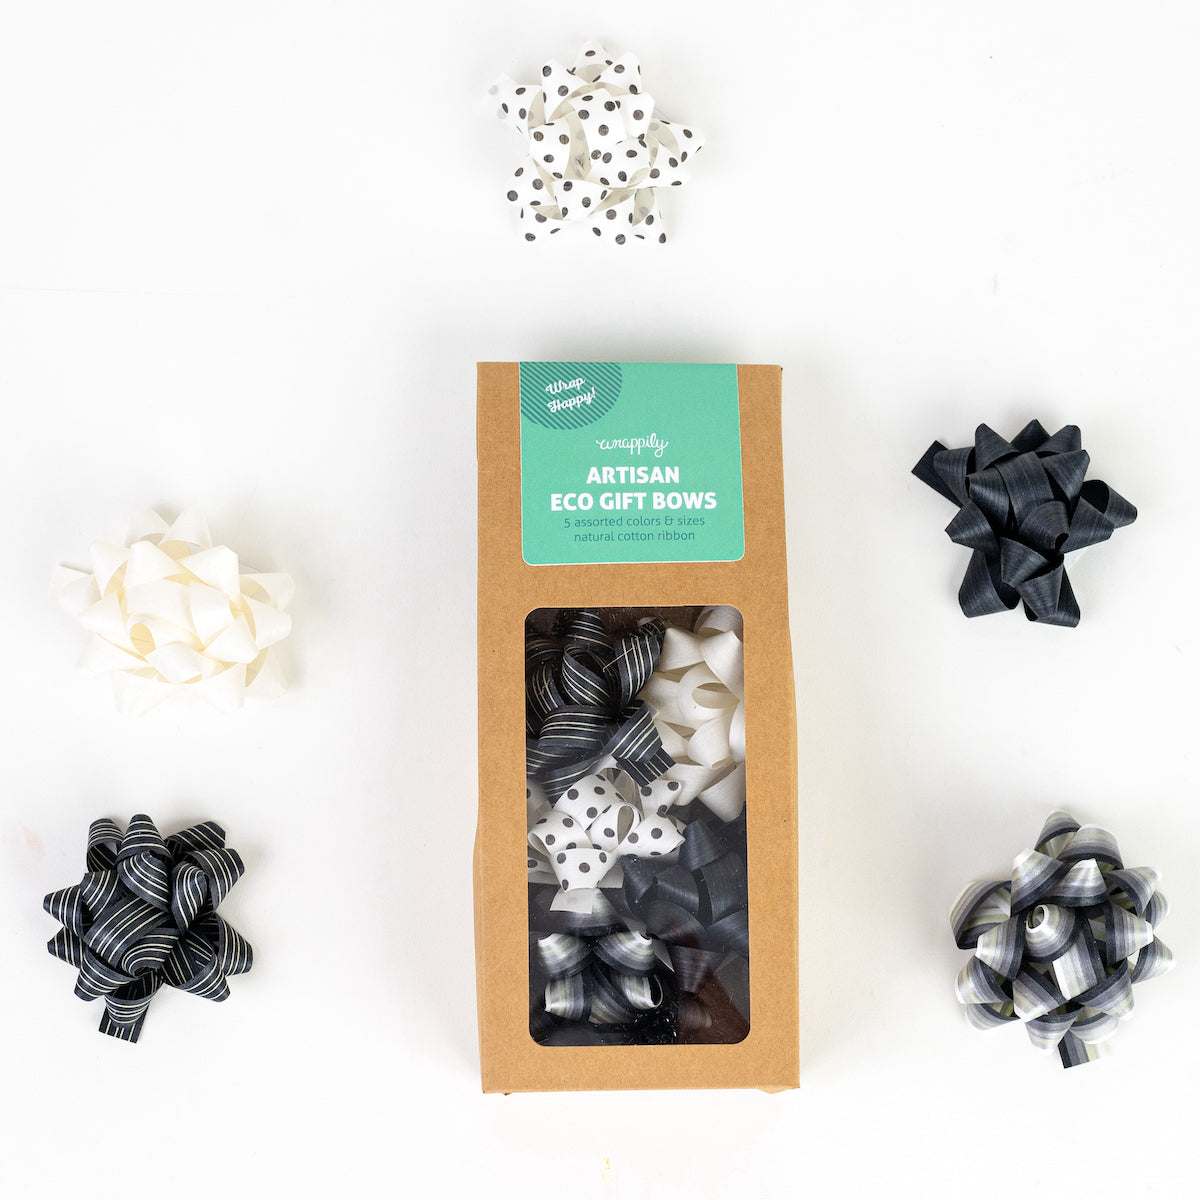

Black & White Mix - Natural Cotton Gift Bows, Pack of 5
$10.50 $11.00
You just found an eco-friendly alternative to conventional plastic gift bows. Artisanally made of biodegradable natural cotton ribbon, these adhesive gift topper bows are cute, convenient and compostable. This box includes FIVE small-to-medium sized bows (2-3/8" & 3") in a classy black & white palette. Made in the USA. (1) 3" Night Stripe (1) 3" Organic Cream (1) 2 3/8" Black (1) 2 3/8" Black Dot on White (1) 2 3/8" Pinstripe