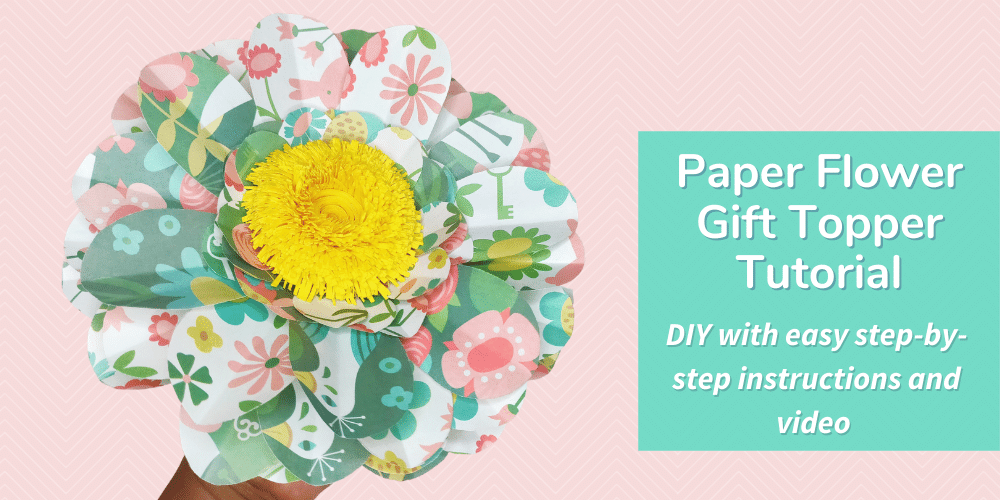
DIY This Paper Flower Wreath Tutorial in Three Steps

Catch the related posts here: Sunflower Style Paper Flower | Daisy Style Paper Flower
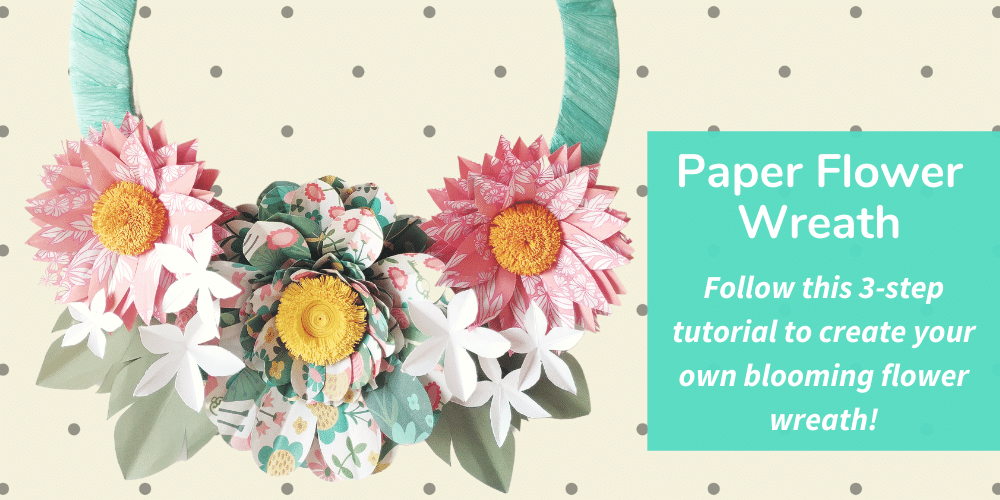
Blooming Paper Flower Wreath
By Kirby-Jay Conyette @ikamcreate
Hung in the home for spring decor or given as a gift, these fresh florals will far out last regular blooms. Plus you can customize this DIY wreath with the colors, papers, and patterns you choose. We know it looks like so. much. detail, but each step is broken down into simple tasks. Plus, Kirby-Jay has provided a video for us to watch and learn as we DIY. Grab your scissors and follow along...
Supplies List:
- Wrappily Paper Flower Daisy x1
- Wrappily Paper Flower Sunflowers x2
- Wrappily Paper Ribbon (we used this Sea Green paper ribbon)
- 16" diameter Wreath Frame (we reused some cardboard)
- Solid-color paper
- Printed Paper Flower Wreath Template (4 Stencils: 1 Leaf and 3 flowers)
Step-by-Step Paper Flower Wreath Instructions
1. Make the Flowers & Leaves
Collect the finished handmade paper blooms (We used one daisy style and two sunflower styles).


Download and print the wreath template to create the stencils. The template includes a leaf and a flower template in two sizes, 6" and 8".
Using the solid-color paper:
-
Cut 4 leaves
-
Cut 6 flowers in varying sizes
2. Create the Frame
Purchase a wreath form at your local craft store, or raid the recycling bin for some cardboard to up-cycle. We used an old delivery box! Wrap the frame with paper ribbon and glue the edges to secure into place.

3. Assemble the Wreath
First start on the table, playing with the arrangement of flowers and leaves until you are satisfied with the layout. Then, piece by piece, start glueing the flowers directly to the wreath ring. Start with the largest flower, then add smaller flowers, leaves, and end with smaller flowers. Have fun and get creative in this process.


Voila!
This is just one of many ways to arrange these paper flowers to create your own beautiful spring home decor! Copy Kirby-Jay's asymmetrical style or fill the entire ring with Daisy Style and Sunflower Style paper flowers! Pair with a matching bouquet and gift topper for a cohesive spring vibe at your next baby shower or wedding. We want to see your Paper Flower Projects - share your #WrapHappy photos with us @wrappily.

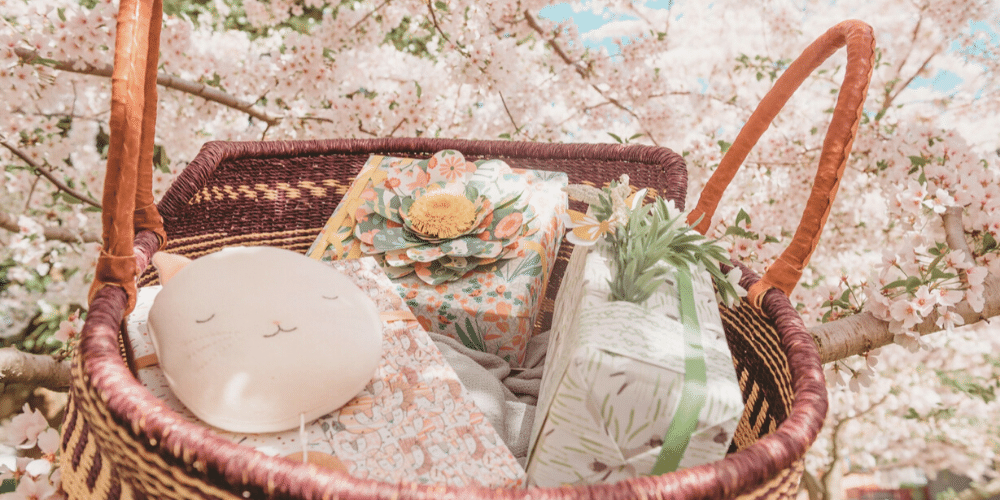
(photo credit: Tia Wright - Four Little Hooligans Photography)
MEET THE ARTIST: Kirby-Jay Conyette

"I am Kirby-Jay, an industrial engineer-gone-rogue and the silk and paper florist behind @ikamCreate. I design colossal 3D floral installations for all occasions— weddings, baby showers, corporate events and more. This year I opened an Etsy shop, so that I can offer petite floral wall art and fun DIY paper crafting activity kits. Check out my latest creations and services!
I started ikamCreate in California in 2015 as an illustration service, but have since transitioned to dreamy, larger-than-life handcrafted floral structures. I LOVE what I do because, through my work, I get to be part of your precious moments and fabulous celebrations! It also allows me to connect with some amazingly talented creatives who constantly inspire me."